User Tutorial
This tutorial guides through the features most relevant to Users exploring and reviewing a given Document population:
- Claim a Batch of Documents for review.
- Navigate along potentially relevant findings using the Document Viewer.
- Rate the relevance of Documents using a Layout.
- Filter the View to identify incomplete Documents and mass edit these.
- Return the Batch and mark it completed.
- Export Documents presented by Views as PDFs including a customizable list of Fields.
Batch assignment
Section titled “Batch assignment”- Non-privileged Users are typically limited to the Workspace tab at the Platform level.
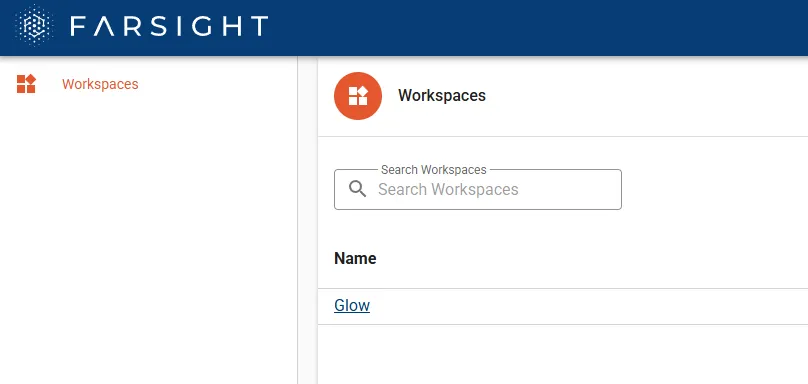
- Enter the designated Workspace. The available tabs within the Workspace will depend on granted permissions.

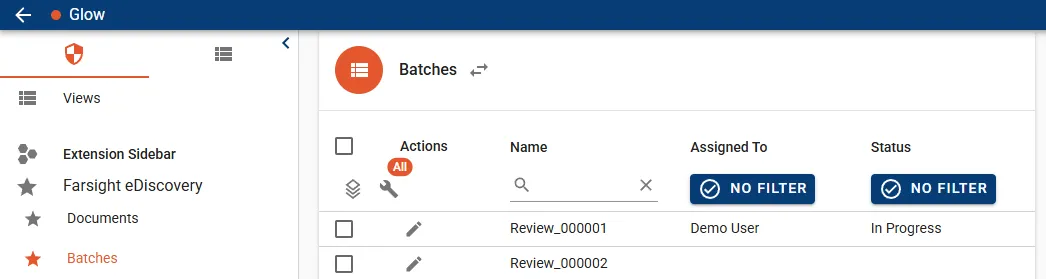
- Go to the tab Batches tab.
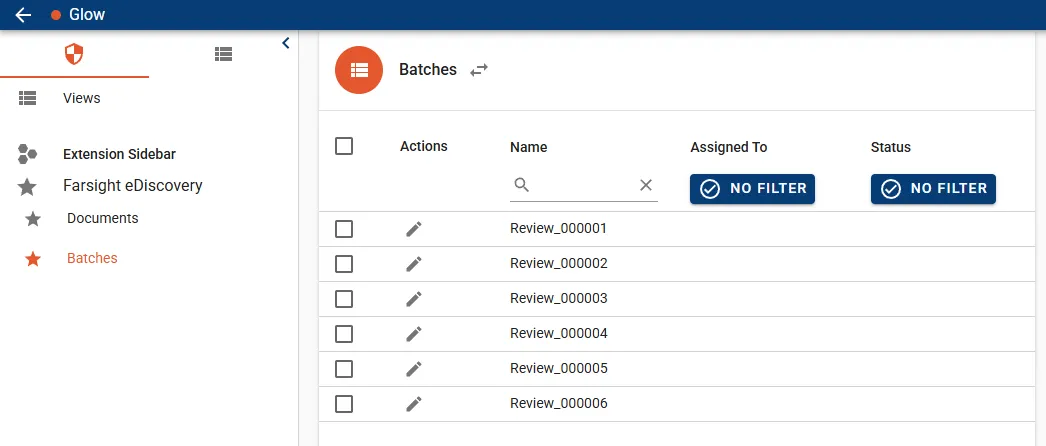
- Find a Batch which is not yet assigned and click the Edit icon to open the Edit Batch dialog.
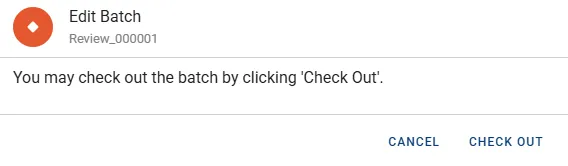
- Press the CHECK OUT button to continue.
- The Batch does now show your name in the Assigned To column with Status set to In Progress.
- Switch to the Documents tab, click the arrows next to All Documents and select the View My Assigned Documents.
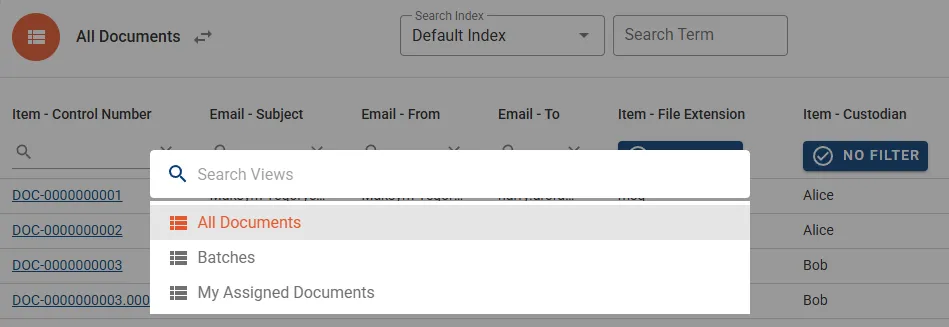
- The context will switch to the 25 Documents of this Batch.

This concludes the Batch assignment process and the contained Documents can be checked in more detail.
Navigate findings
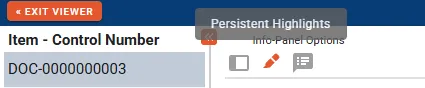
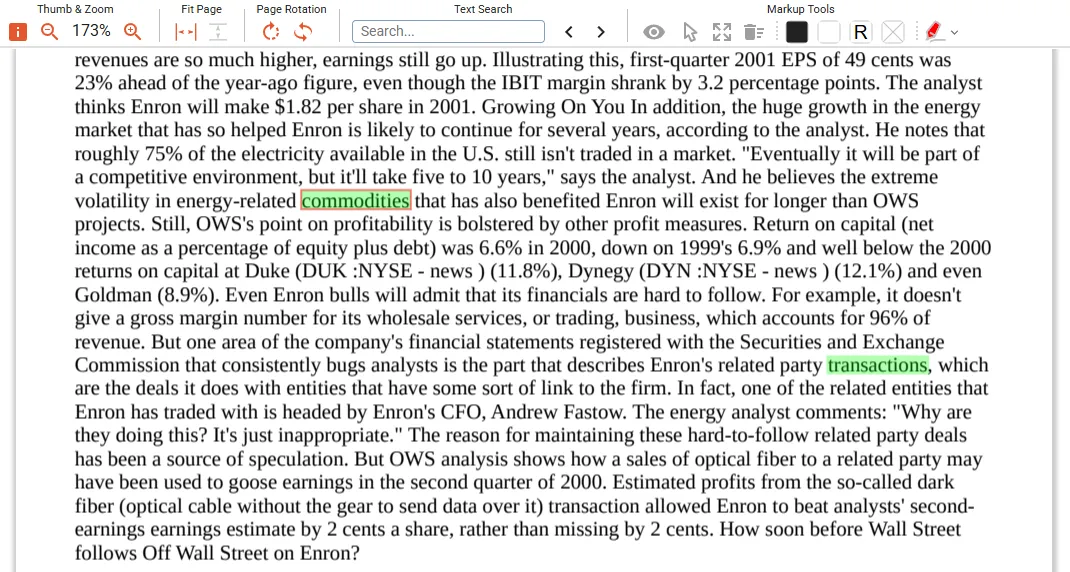
Section titled “Navigate findings”- Click the first link to enter the Document Viewer.
- Change the Info Panel to Persistent Highlights mode to show the responsive terms for the Document.
- The arrow buttons allow to jump and navigate along the findings of the Search Term Report Initial Report.
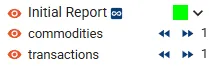
- Terms are highlighted with the pre-configured color.
Rate documents
Section titled “Rate documents”Get ready to rate a few Documents of the Batch.
- While in the Document Viewer, a single predefined Layout First Level Review should be displayed to the right side.
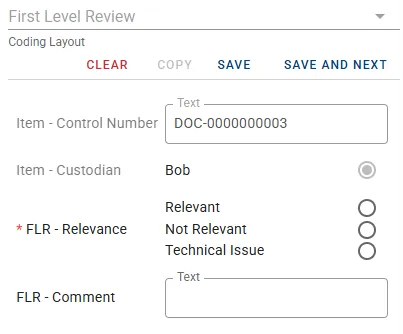
- The grayed out Fields Item - Control Number and Item - Custodian are displayed in read-only mode for reference purpose.
- The leading asterisk designates Field FLR - Relevance as mandatory.
- Field FLR - Comment is optional, can hold text and will scale in size once longer sentences are entered.
- Fill in decisions for the first Document and press button SAVE AND NEXT.
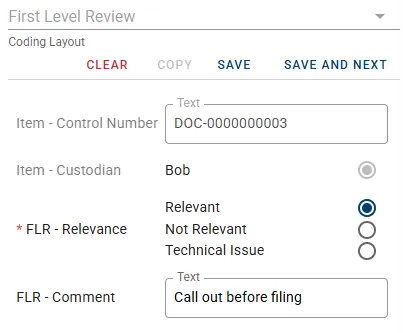
- Go through the first 10 Documents and apply decisions. Note the availability of the COPY button will change once the first Document is coded. This button is used to reapply the last saved decisions to the current Document.
- Use the arrow in the top left corner to exit the Document Viewer.

Filter and mass edit Documents
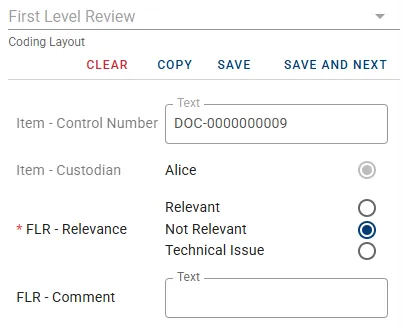
Section titled “Filter and mass edit Documents”- Click the filter button on the Field FLR - Relevance.
- Activate option Is Set, check Negate Filter (NOT) and then the button APPLY FILTER.
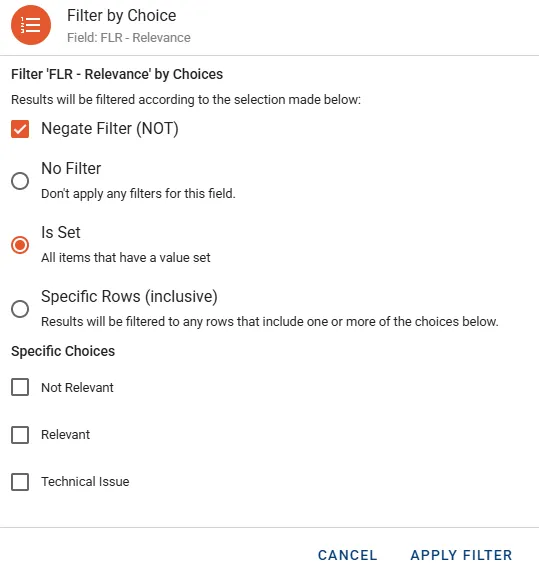
- The scope is reduced to the remaining 15 Documents.

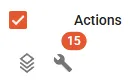
- Click the checkbox next to the Actions column to select the 15 Documents and click the stack icon to open the Mass Update Document dialog.
- In this example we flag all the remaining Documents as Not Relevant.
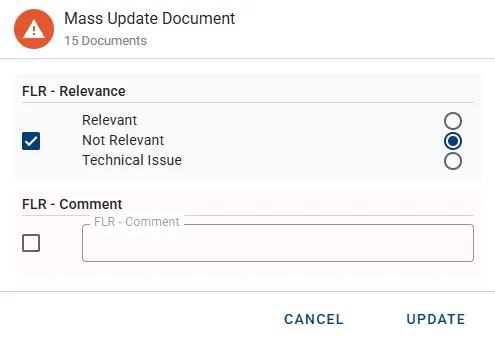
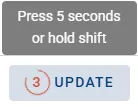
- Click and hold the UPDATE button for 5 seconds. This is a general mechanism in Farsight to prevent unintentional modifications or deletions. Another option is to hold the shift key while clicking the button to confirm without delay.
- Once the mass update concluded the scope will be reported empty.

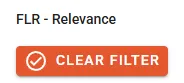
- Easily remove the filter by holding both CTRL + SHIFT keys which will switch the button for active filters to CLEAR FILTER.
All documents have received a relevancy decision and the Batch is ready to be returned.
Batch completion
Section titled “Batch completion”- Switch to the Batches tab and click the Edit icon in front of the assigned Batch.

- In the Edit Batch dialog click button CHECK IN AS COMPLETE.
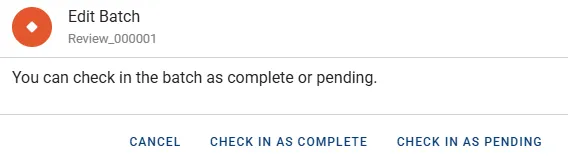
- The Batch will now be listed with Status Complete.

Export Documents
Section titled “Export Documents”- Go to the Documents tab.
- Select the first three Documents.
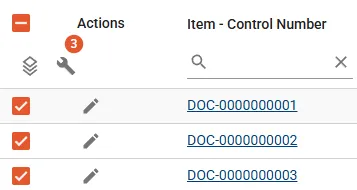
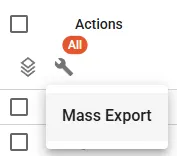
- Click the wrench icon in the Actions column and select Mass Export.
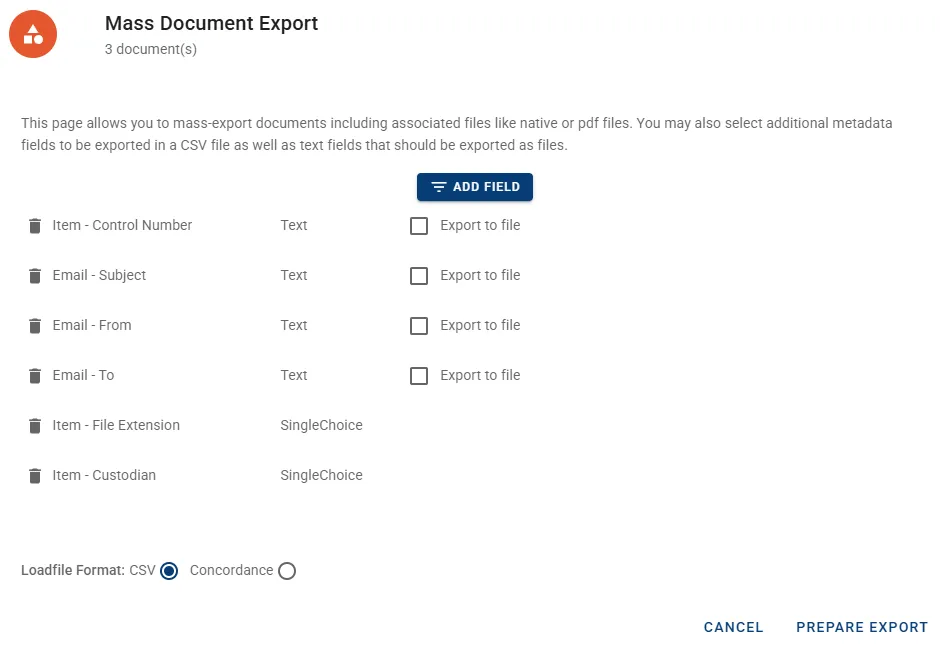
- The Mass Document Export dialog opens. By default all Fields displayed in the View are automatically added.
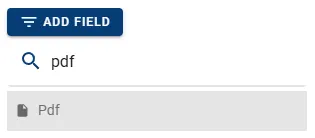
- Click the button ADD FIELD, filter for Pdf and select the Field from the drop-down menu.
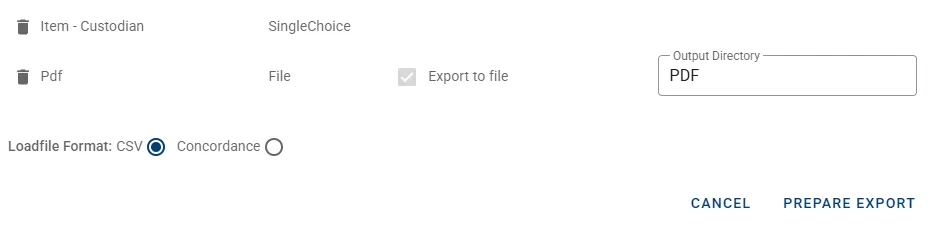
- PDF files are now added to the output and will be part of the ZIP folder. Optionally the name of the sub directory within the ZIP file can be changed using the input box Output Directory.
- Press button PREPARE EXPORT then click the button SAVE EXPORT at the same location to start the download.

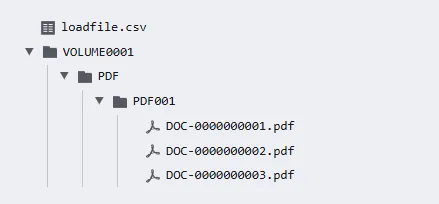
The resulting ZIP file has the following structure: