eDiscovery Bridge
The eDiscovery Bridge is a desktop application and primarily used to import processed data into Farsight Workspaces. Additionally existing Workspace records can be updated (overlay) or downloaded to files (export).
Startup & Login
Section titled “Startup & Login”- Starting Farsight eDiscovery Bridge for the first time will require to enter the Instance Address of the Farsight instance you want to connect to.
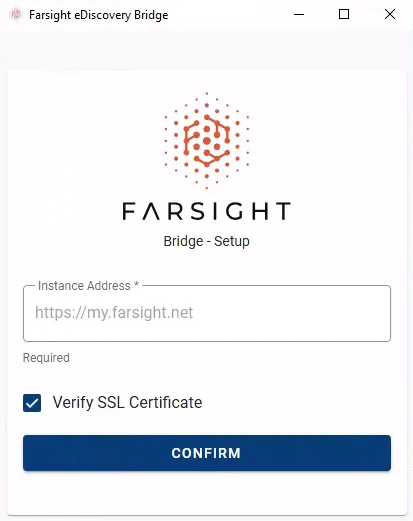
- Press the button CONFIRM to continue.
- If the connection is successful the login prompt will appear. If the Instance Address needs to be updated any time later click the gearwheel icon at the bottom of the window.

- Enter Email Address with corresponding Password and press the button LOGIN.
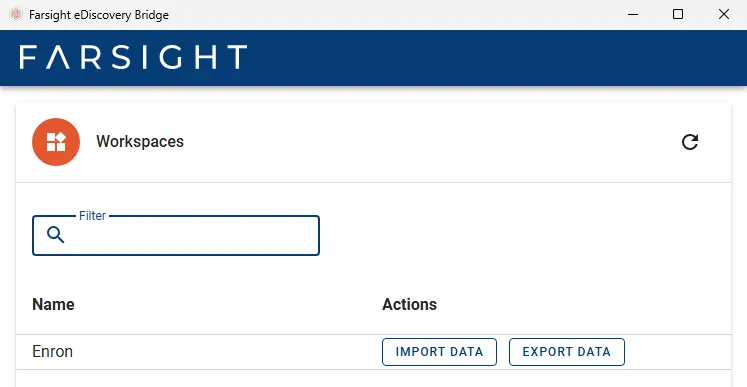
- Once logged in the list of available Workspaces to which the User has access is presented.
Import Data
Section titled “Import Data”-
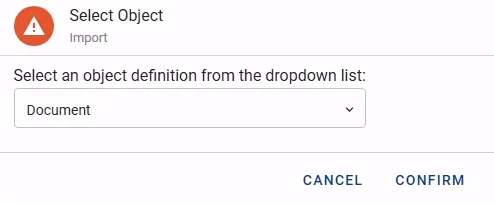
Click the button Import next to the Workspace and this will open the dialog Select Object.
-
Select the Object Definition from the drop-down menu for which data is being loaded. Typically Document records is the most common type. Press the button CONFIRM and the main Import Data window is presented.
-
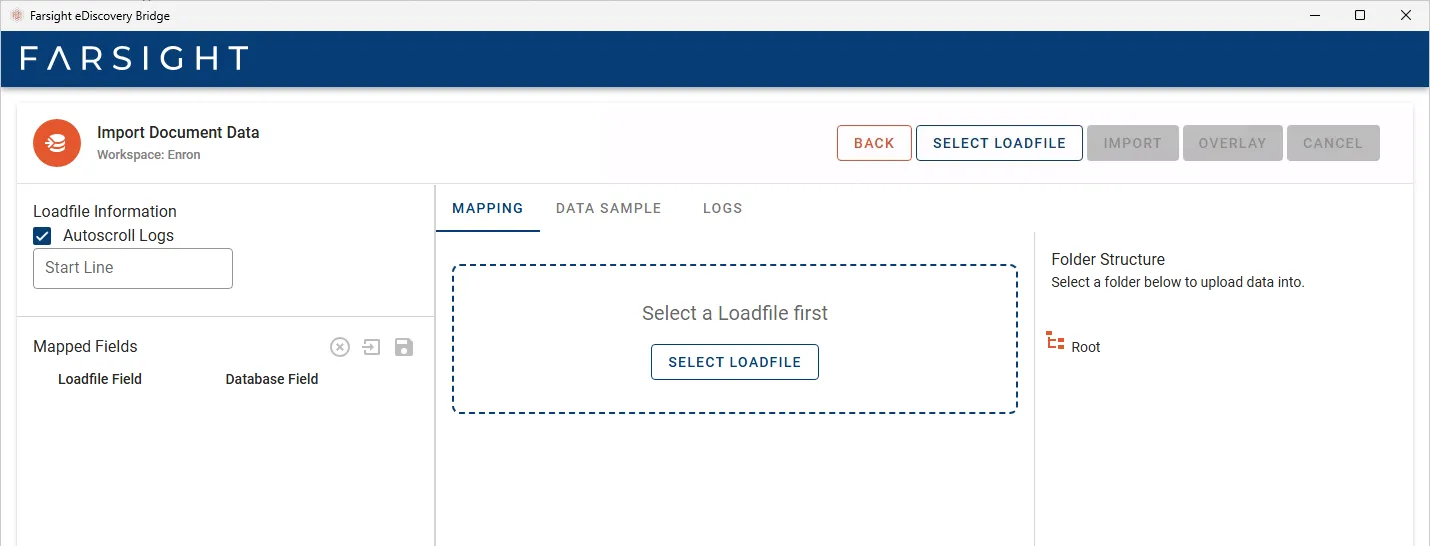
Press the button SELECT LOADFILE, navigate to the processed data and select the designated file. With processed data the file is labeled “loadfile.dat” (Concordance format) but generally all delimited text files (CSV, TSV, PSV and any other) are acceptable.
-
The content of the file is being analyzed and checked against the Fields of the target Object Definition. Below is an example screenshot on how this could look like in the first place.
- The left section displays details about the selected file and the mapping of Fields:
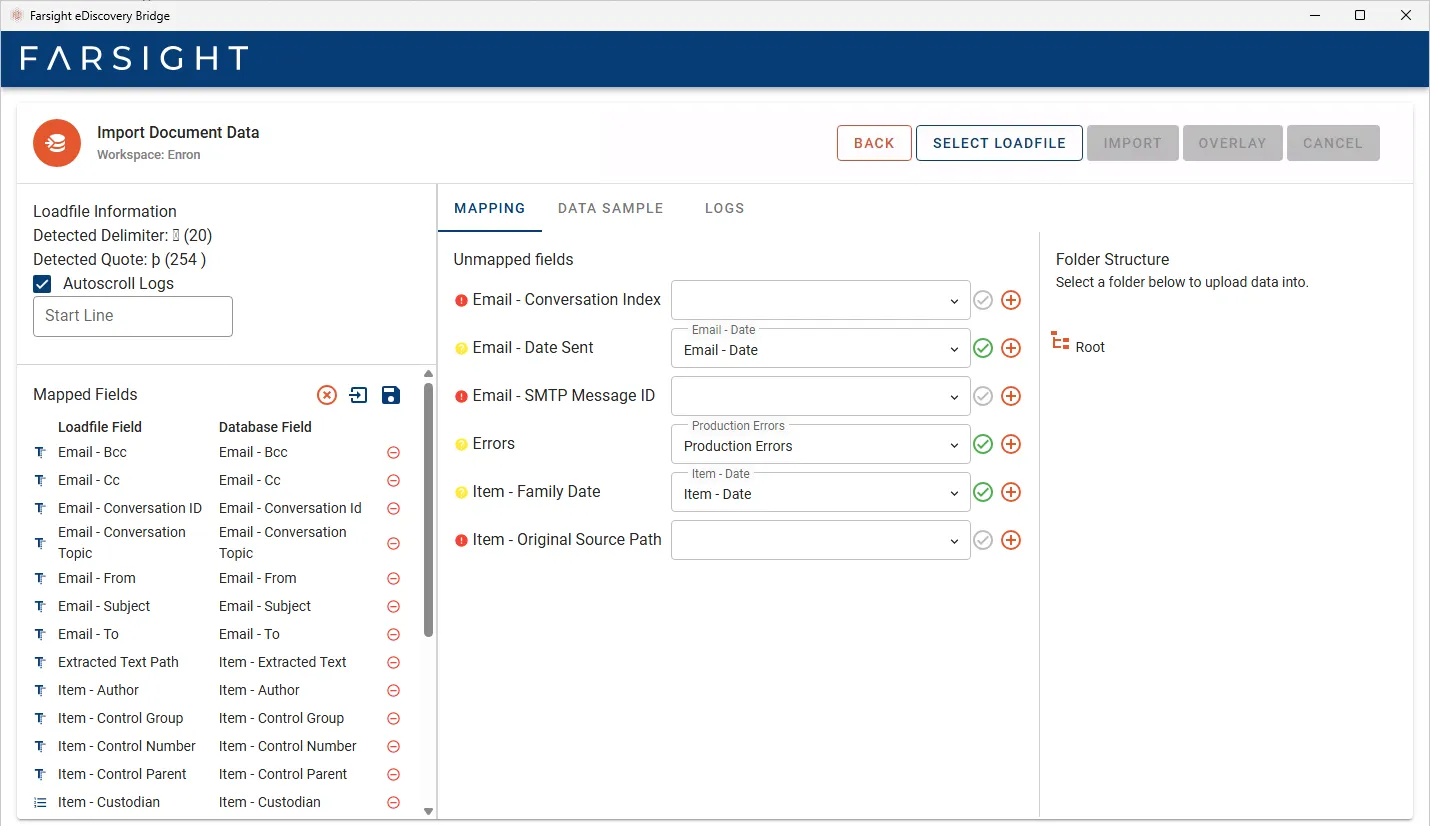
- Loadfile Information at the top shows the Detected Delimiter and the Detected Quote character. Additionally you can optionally advise a specific line number to start with.
- Mapped Fields displays all the Fields mapped automatically by name matching. For managing the entire mapping the following controls are available at the top: Clear Mapping, Load Mapping, Save Mapping

- The center section has 3 sub tabs:
- MAPPING lists any unmapped Fields and the folder structure.
- DATA SAMPLE can display up to 1000 sample rows from the load file.
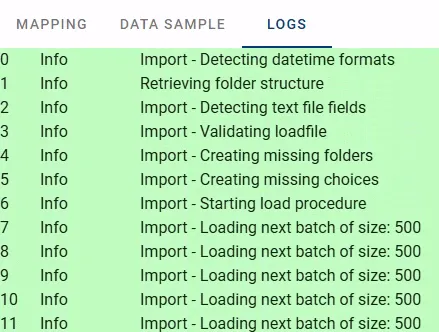
- LOGS is populated with progress information once the import process is started.
- The left section displays details about the selected file and the mapping of Fields:
-
Any undesired assignments in the Mapped Fields section can be removed individually by clicking the removal icon shown to the right of each entry. This makes the Field available for mapping in the Unmapped Fields section.
-
The unmapped Fields can have different states:
- Red means that no corresponding Field was found. Most likely a new Field needs to be created.
- Yellow means that a potential destination Field was identified but it might not be the perfect match.
- Green means that an exact match for the file column is found in the list of available Fields. The corresponding Field must have been dropped out manually as this category gets mapped automatically.
-
Resolve the entries in unmapped Fields unless the remaining Fields can be ignored during import.
- Select an existing Field in the drop-down menu and press the green check mark symbol to accept.
- Press the orange plus symbol to create a new Field on-the-fly and upon confirmation the mapping is automatically accepted.
-
The right section presents the Folder Structure within the Workspace. While this step is optional it might help to organize your Workspace data more clearly.
- Select an existing folder as target.
- To create a new folder use right-click > New Folder.
-
Once ready press the button IMPORT to continue.
-
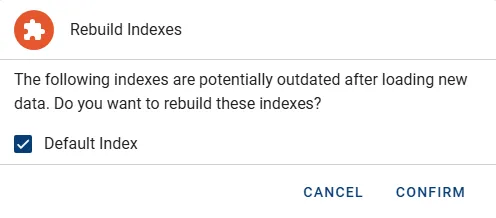
You are offered the option to rebuild any configured Search Indices once the import completes. Press the button CONFIRM to allow this or apply necessary changes.
-
The import is executed:
-
The section to the left will display status information.

-
Tab LOGS will become active in the center section.
-
-
Upon completion the Status Overview will change to Import Finished.
Error Handling
Section titled “Error Handling”The following dialog is shown if anything goes wrong during the import process: 
- Press the button SAVE DAT FILES to preserve the files and the folder selection dialog appears.
- Typically the original folder of the imported file should be selected as this keeps the relative references to other files such as native or text files working.
- Depending on the types of errors the destination can contain multiple differential files:
| Order | File name | Description |
|---|---|---|
| - | import.log | Contains the same output as seen in the LOGS tab and is always present. |
| 1 | conflicts.dat | Records that failed to import because their unique identifier is already present in the database. |
| 2 | loadfile_errors.dat | Records that failed to import due to validation errors in meta data or unavailable text files. |
| 3 | file_errors.dat | Records partially imported but references by file Fields (e.g. natives) remain unavailable. |
| 4 | errors.dat | General errors that failed to import for other reason. |
Overlay Data
Section titled “Overlay Data”The button OVERLAY is used for the purpose of modifying existing records. This could also mean enriching records with additional information. This follows the same initial steps as described in Import Data until load file selection.
-
With processed data the file is labeled “overlay.dat” (Concordance format) but generally all delimited text files (CSV, TSV, PSV and any other) are acceptable.
-
Verify the Field mapping is as expected. For the custodian overlay of processed data the mapping section is expected to look like this:

-
Running an overlay requires the mapping of a Field configured as Unique in the Object Definition.
- If the condition is met, the button OVERLAY in the right top corner becomes available.
- The button remains inactive and grayed out if no such Field is part of the Mapped Fields.
-
Pressing the button OVERLAY displays the detected identifier for confirmation:
-
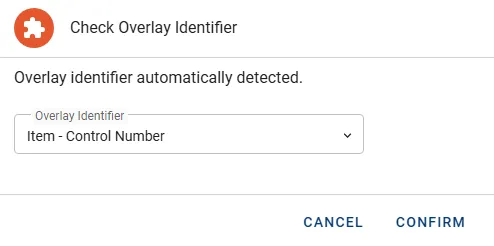
The rebuild option is offered here as well but not required unless any index relevant Fields are updated by the Overlay.

-
Press button CONFIRM to start the process.
-
Upon completion the Status Overview will change to Overlay Finished.
Export Data
Section titled “Export Data”- Click the button Export next to the Workspace and this will open the Export Saved Queries dialog.
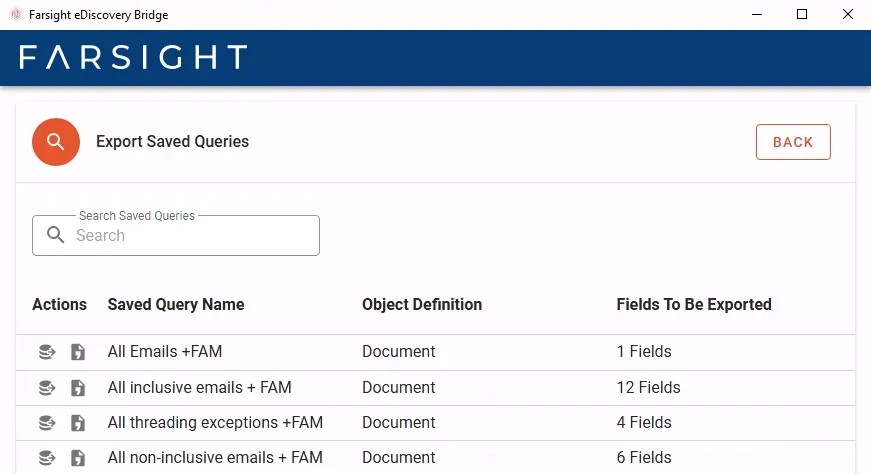
- Press the preferred export Action icon in front of the designated Saved Query.

- Confirm the File Name for the export and press the Save button.
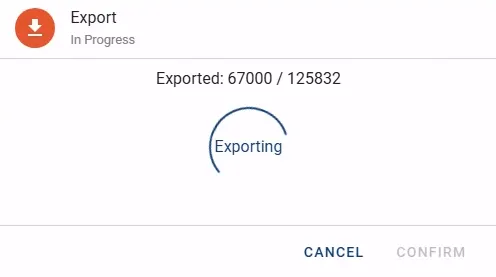
- The Export dialog is opened and shows progress information while the export is running.