Document Viewer
Info-Panel
Section titled “Info-Panel”Persistent Highlights
Section titled “Persistent Highlights”Once a Search Term Report with the option “Enable Highlighting” is executed, the corresponding results will be automatically highlighted in the Document Viewer. Granular access and display control of the results is managed via the Info-Panel. Click the pen icon to access the corresponding section: ![]()
This will present all findings for any Search Term Report with highlights enabled*.* Here is an example screenshot of the panel: 
- Custom Highlights: May present any ad-hoc terms applied to the underlying search. In this example the term “company” was entered via Index Search box at the top of the Saved Search result list. Another option for adding custom highlights is to press the plus symbol and enter the term.
- “Small Report” / “Priv Terms” are Search Terms Reports and both of them show a few results including the number of occurrence. By default the list is limited to terms with actual hits.
Description of the available functions:
| Disable highlights for the Search Term Report or for the individual term. | |
| Toggle the symbol to see all terms of the Search Term Report regardless of findings. | |
| The highlighting color configured for the Search Term Report. | |
| Collapse the list of terms. | |
| Jump to the previous highlight. | |
| Jump to the next highlight. | |
| Number of highlights for the term. | |
| Remove the term (for custom highlights only). | |
| Add term (for custom highlights only). |
Markup List
Section titled “Markup List”To see a list of applied markups click the balloon icon: ![]()
Here is an example screenshot for a Document with 6 markups applied on page 1:
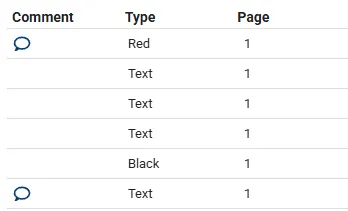
| Comment | A balloon icon indicates that the markup was commented. Click on the icon to see the comment. |
| Type | Redactions: Black, Gray, White, Cross, Text Highlights: Red, Orange, Green, Purple, Blue |
| Page | Page number of the markup. |
Translate
Section titled “Translate”The translation function can be applied at Document level or to selected text. The following language pairs are supported:
| Source language | Target language |
|---|---|
| English | French, German |
| Chinese | English |
| Dutch | English |
| French | English |
| German | English |
| Italian | English |
| Polish | English |
| Portuguese | English |
| Russian | English |
| Spanish | English |
Document
Section titled “Document”-
Click the Translate button in the Navigation bar.

-
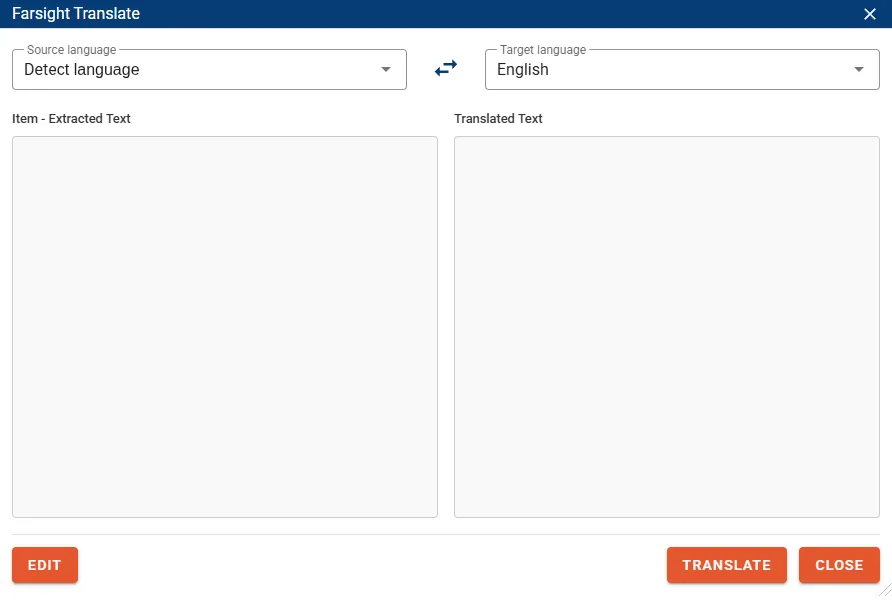
The Translate dialog will open:
-
The system will try to determine the source language of the text per paragraph.
- If a supported non-English language is detected the dialog will automatically present the English translation.
- If needed perform manual adjustments to the Source language and Target language then press the button TRANSLATE to start the process.
- Optionally unlock the source text for tailoring by pressing the EDIT button. Any modifications in this dialog will not alter the content of the source Field.
Text selection
Section titled “Text selection”- Press and hold the left mouse button to highlight the designated text section in the Document Viewer.
- Right-click the highlighted text to open the context menu and select Translate.
- This will start translating the text selection in the background, opening the translation window upon completion.
Apply Redactions
Section titled “Apply Redactions”There are three methods to apply Redactions:
Draw box
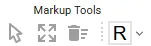
Section titled “Draw box”- Make sure one of the Redaction tools have been selected. In the sample below the red border indicates that text Redactions are active.

- Draw Redaction boxes by holding the left mouse button.

Text selection
Section titled “Text selection”Use this method to redact specific words or phrases. You can also choose to redact all occurrences at once.
- Make sure that both selection and redaction tools are inactive.
- Select a word or phrase in the Document using left mouse button.
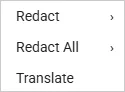
- Right-click on the selection to open the context menu and navigate to e.g. Redact > Black
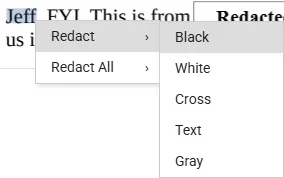
- Select Redact All in the context menu to mass redact all occurrences.
- When selecting type Text, an additional dialog is shown to enter the text for the Redaction.
Double-click
Section titled “Double-click”-
Make sure one of the Redaction tools have been selected. The red border indicates that Text Redactions are active.
-
Double-click a word and the Redaction is applied to every occurrence within the Document in case propagation is enabled. With propagation disabled the single instance of the word is being redacted.
Change Redactions
Section titled “Change Redactions”- Right-click a Redaction to open the context menu.
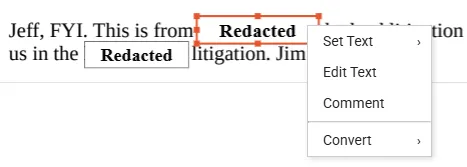
- Set Text displays a selection of the default texts stored within the Markups Set.
- Edit Text allows any text to be entered manually.
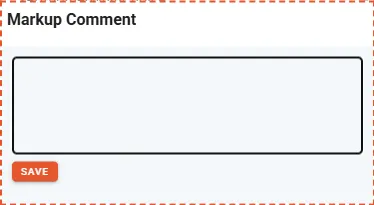
- Comment displays an input box on the right side to store comments for this Redaction.
- Convert allows to transition the type to any other Redaction or Highlight.
