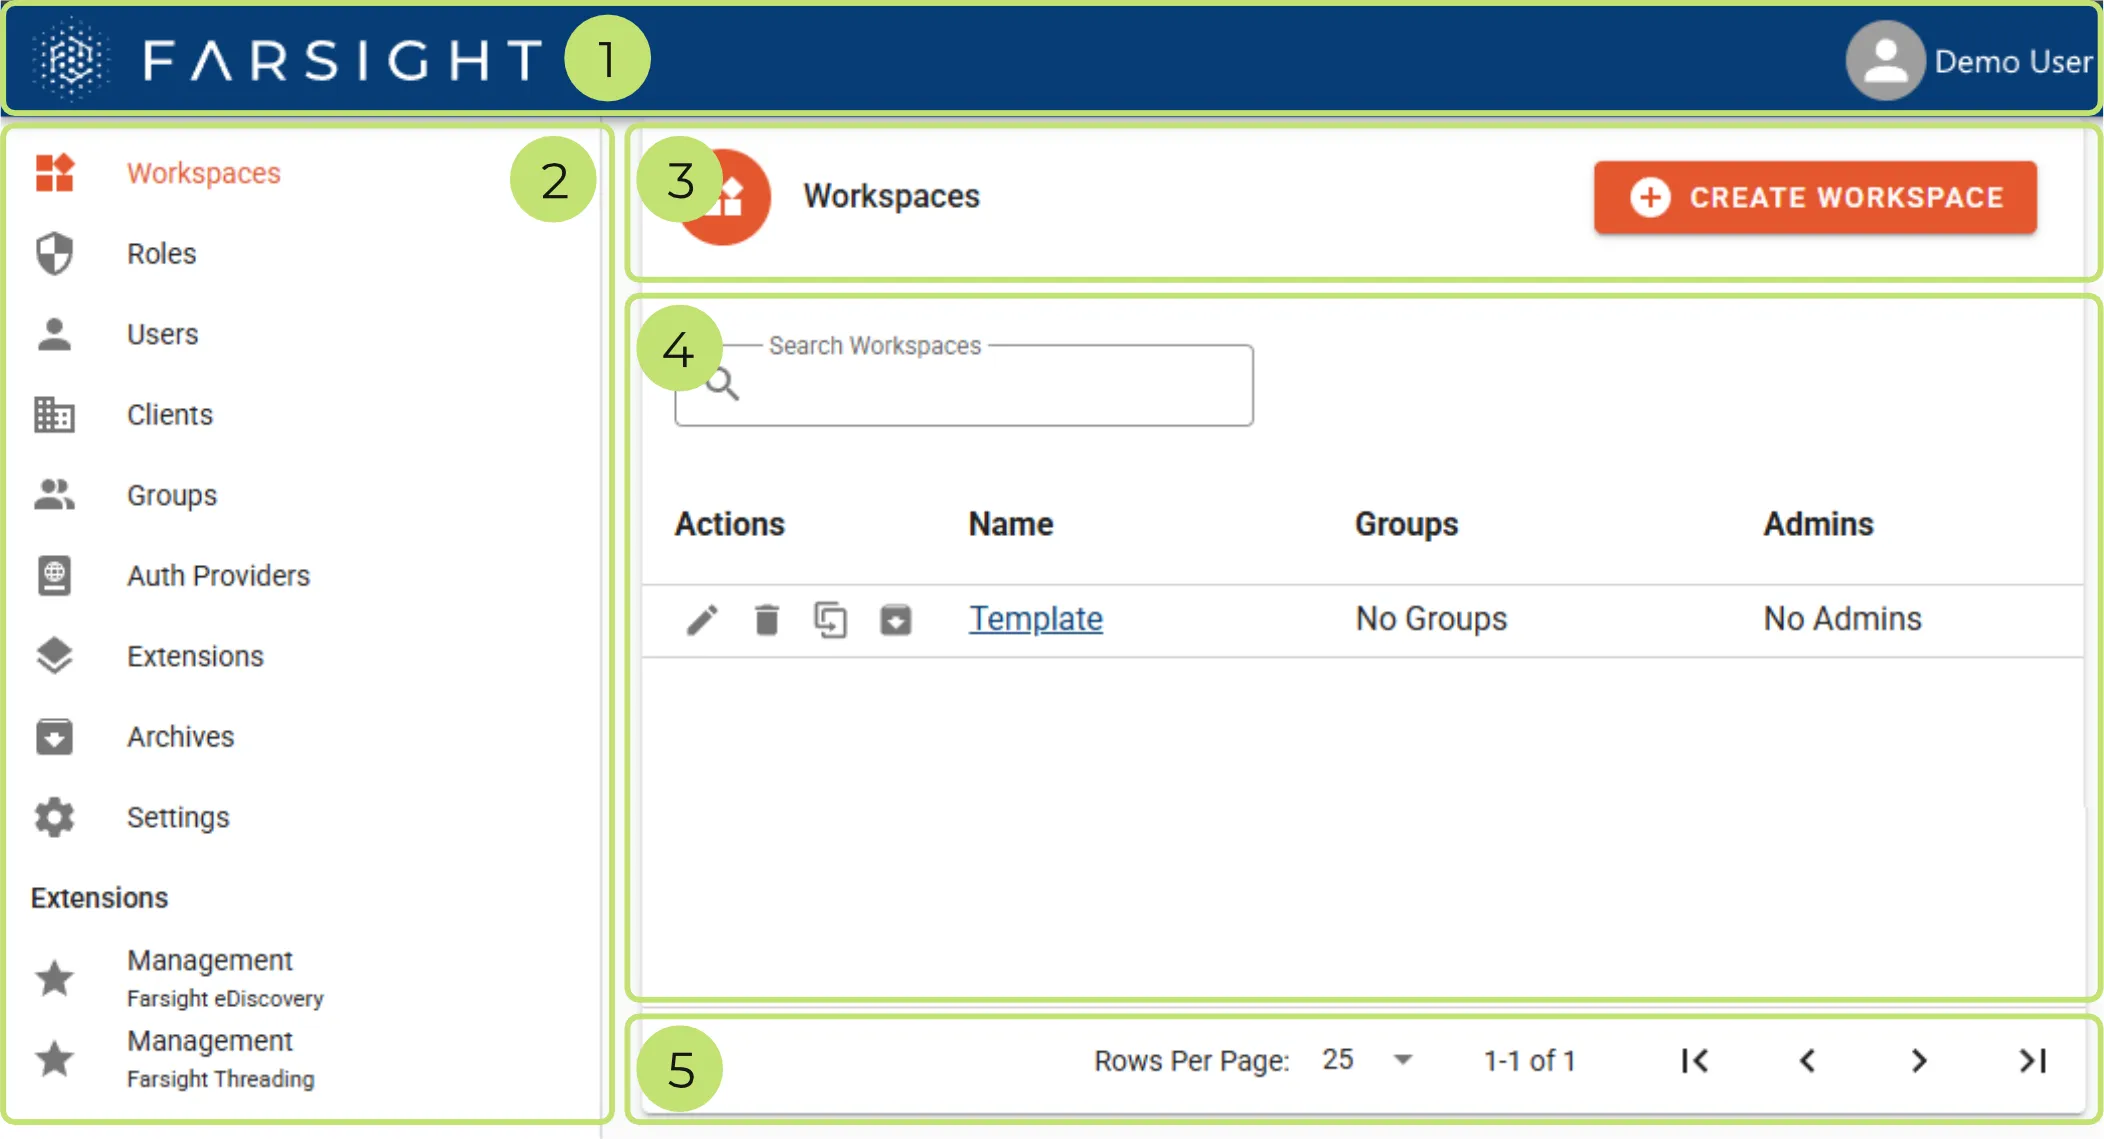
- Navigation bar
- Tab panel
- Title bar
- Record list
- Footer bar
| |
|---|
 | Click this section to open a drop-down with the following options: About dialog shows version and build number. Settings is to change your password or see the account details. Logout to quit the session and return to the login screen. |
| |
|---|
 | Navigate across the core object types of the platform. |
| |
|---|
 | To the left is the icon and title of the object type selected by the tab panel. |
 | To the right is typically a button for creation of new records or comparable actions. For example there is a CREATE button for Roles and Groups but there is an additional button INVITE USERS on tab Users. Another example is Archives where the button is labeled IMPORT ARCHIVE. |
| |
|---|
 | The search box at the top can be used for filtering objects based on the values appearing in Name and other text based column. |
 | The column header shows the available attributes for the object. These views in Platform Management are not modifiable. Click a column title to change the sort order which is then reflected by an arrow. |
 | The Actions column might show various icons depending on the selected object type. For Workspaces these Actions are: Edit, Delete, Clone, Archive. |
 | The Name column shows a link to enter the object or open the corresponding details. |
| |
|---|
 | Change the record count displayed per page: 15, 25, 50, 100, 250 |
 | Currently displayed record range and total amount of records. |
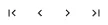
 | Navigate between the pages. |

- Navigation bar
- Tab panel
- Title bar
- Record list
- Footer bar
| |
|---|
 | Click the arrow to return to the Platform Management level. |
 | The name of opened Workspace. |
| |
|---|
 | Navigate across the object types of the Workspace. |
| |
|---|
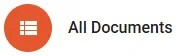 | To the left is the icon and depending on tab panel selection: The Title for core object types. The Name of the active View for custom object types. In this example object type Documents is selected and displayed by View All Documents. |
 | Edit the current View. |
 | Open the drop-down menu to change the active View. The menu is also accessible by keyboard shortcut CTRL + ALT + K. |
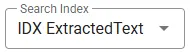 | Index selection drop-down for Index Search (requires built index). |
 | Search term input field for Index Search (requires built index). |
 | Create a new record (if supported). |
| |
|---|
 | The top checkbox for selecting all records on the active page e.g. 25 to be used with a Mass Action. |
  | Context of Mass Action is displayed below the label Actions: All records if no selection was made. Specific record count of the selection. |
 | Available Mass Actions for the object type. In this example Documents have Edit, Delete, and More Actions → Mass Conversion |
 | Simple column filter for text based Fields. |
 | Advanced column filter for other Field types e.g. Date, Whole Number, Choice etc. |
 | Every record has a checkbox for selection and dedicated Action buttons (Edit and Delete in this example). |
 | The first column shows a link to enter the object or open the corresponding details. |
| |
|---|
 | Refresh the record list. |
 | Export all records as displayed to a CSV file. |
| Change the record count displayed per page: 15, 25, 50, 100, 250 |
 | Shows currently displayed record range, including the ability to jump to a specific record, and total amount of records. |
| Navigate between the pages. |
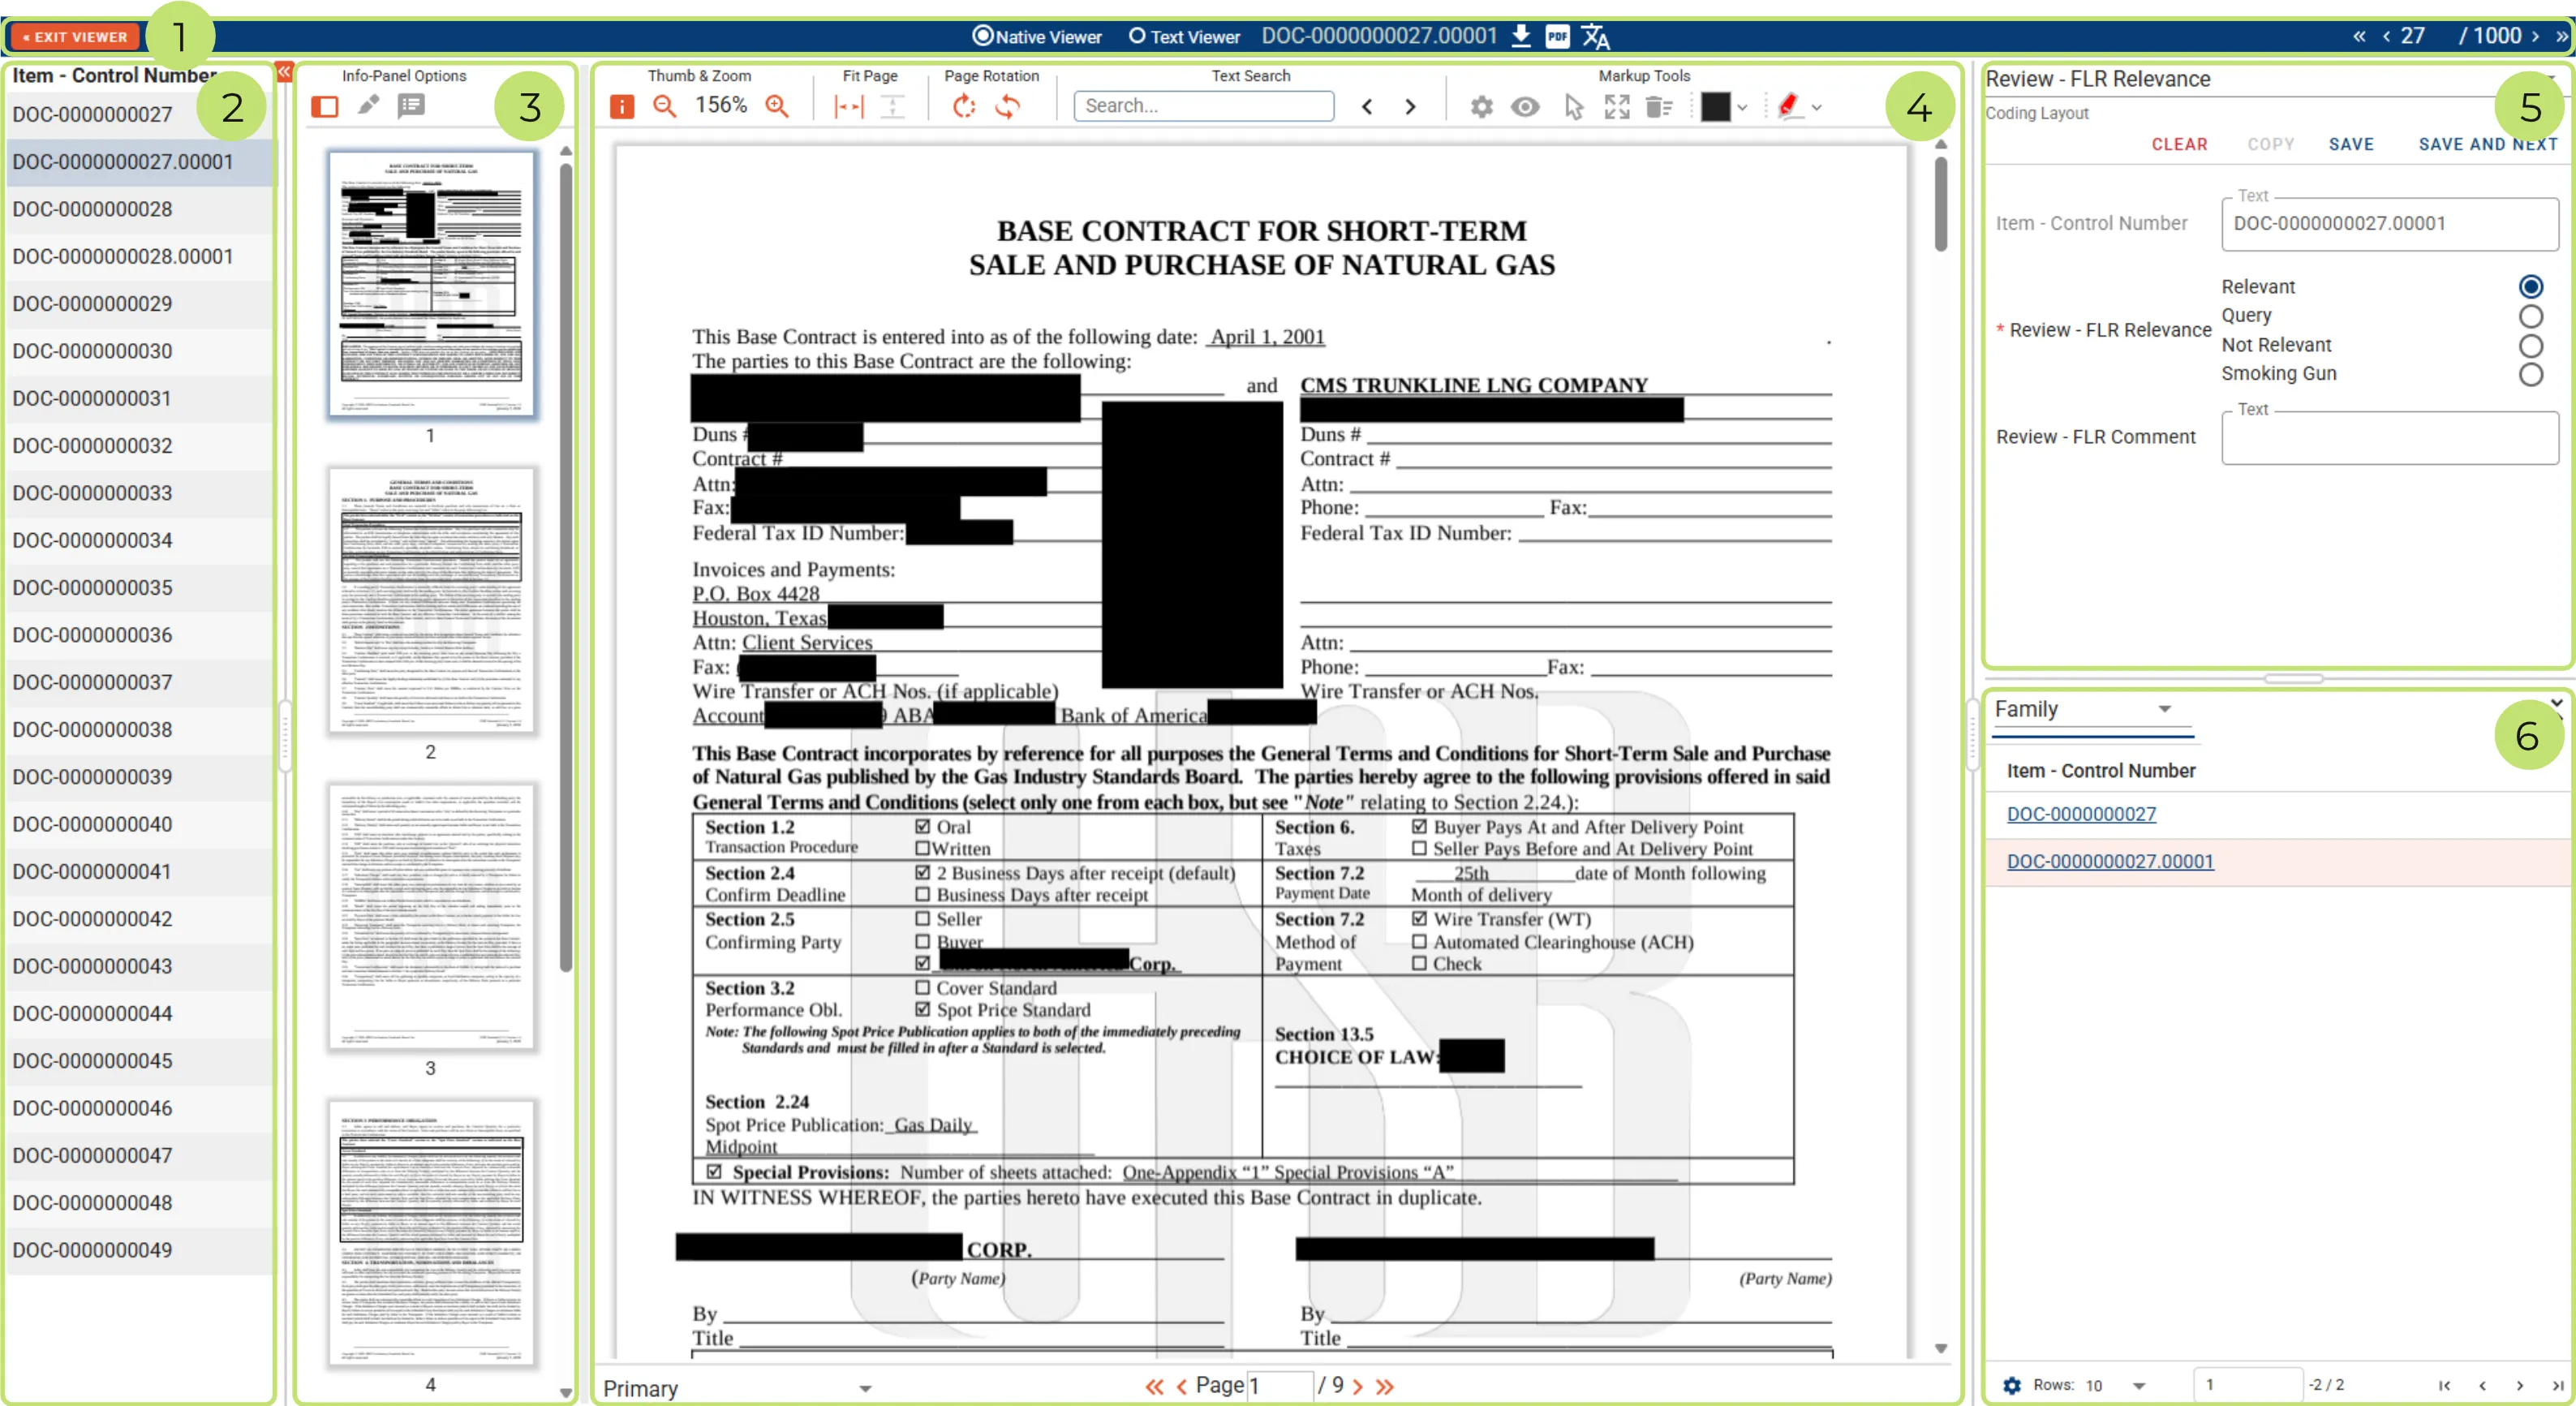
- Navigation bar
- Document list
- Info-Panel
- Document view
- Layout
- Related view
| |
|---|
 | Exit the Document Viewer and return to the Document list. |
 | Switch the display mode between native and text view. |
 | Download the native file. |
 | Download the PDF file. |
 | Open the translation dialog. |
 | Navigate between the Documents. Clicking the current Document position unlocks an input box which allows jumping to any other Document in the queue. |
Quickly jump to a Document by clicking the corresponding list entry.
| |
|---|
 | Collapse or expand the Document list frame. |
Use the toolbar to change what the Info-Panel is showing.
| |
|---|
 | Displays small preview images of pages. |
 | Displays the list of applied highlights grouped by Search Term Report. |
 | Displays the list of applied markups with comment, type and page number. |
Use the top toolbar to change page rendering, search the current Document and switch markup utilities.
| |
|---|
 | Hide or show the info panel frame. |
 | Decrease the zoom level. |
 | Shows the current zoom level (20% - 400%). |
 | Increase the zoom level. |
| |
|---|
 | Fit the page to screen width. |
 | Fit the page to screen height. |
| |
|---|
 | Rotate all the pages clockwise. |
 | Rotate specific pages (opens dialog). |
| |
|---|
 | Enter keyword or phrase to be searched in the current Document. |
 | Navigate between search hits. |
| |
|---|
 | Access the Redactions settings dialog. |
 | Toggle the visibility of markups. |
 | Select multiple Redactions. |
 | Enters the full page redaction mode. |
 | Delete multiple markups (opens dialog). |
 | Draw opaque Redactions. Clicking the arrow opens a drop-down for type selection. |
 | Draw colored Highlights. Clicking the arrow opens a drop-down for color selection. |
Use the bottom toolbar to switch the active Markup Set or to navigate between the pages.
| |
|---|
 | Switch the active Markup Set. |
 | Navigate between pages by using the arrow buttons. Jump by entering a page number and hitting the RETURN key. |
| |
|---|
 | The name of the active Layout is displayed at the top of the Layout frame. The arrow to the right opens a drop-down menu to switch the active Layout. |
 | Clear the values for all editable Fields of the Layout. |
 | Copy the values from the last saved Document. The button becomes available once the first Document in queue was saved using the same Layout. |
 | Save the applied changes. |
 | Save the applied changes and move forward to the next record. |
| |
|---|
 | The name of the relational group is displayed at the top of the related view. The arrow to the right opens a drop-down menu to switch the active group. |
 | Collapse or expand the related view. |
 | Open the Field selection dialog to customize the view. |
 | The default amount of records per page is 10. Click the arrow to the right to choose another page size. |
 | Jump to a specific page by entering the number and hitting the return key. |
 | Navigate between related view pages. |
| Keyboard | Function |
|---|
| CTRL + Arrow Left | Previous Document |
| CTRL + Arrow Right | Next Document |
| CTRL + Arrow Up | Previous Page |
| CTRL + Arrow Down | Next Page |
| CTRL + Mouse Wheel | Change Document Zoom Level |
| CTRL + S | Layout > Save |
| CTRL + ALT + S | Layout > Save & Next |
| CTRL + ALT + C | Layout > Copy (from previous) |
| CTRL + Z | Undo Redaction |
| CTRL + Y | Redo Redaction |