
Administrator Tutorial
This tutorial guides through all administrative steps to setup a first review project:
- Use the Processing application to transform your unstructured data into individual Documents.
- Create a new Workspace in the Platform to host your Documents.
- Import the Documents using the eDiscovery Bridge application and apply final staging actions.
- Prepare the review by identification and batching of potentially relevant Documents.
- Establish User access by creating a new Group, link it to both Workspace and default Access Control Plane.
Process Data
Section titled “Process Data”Prepare the structure of the source data before continuing. The example below has two folders labeled with the custodian’s name, each containing a single PST file with mailbox data. 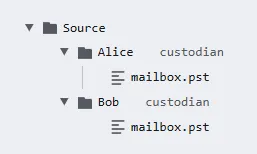
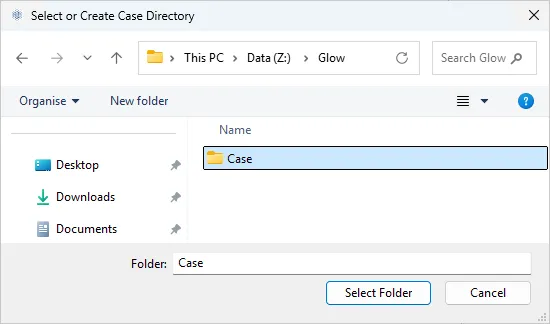
- Start the Processing application which will automatically open the Select or Create Case Directory dialog.
- Select an empty folder to store the case data and confirm by pressing the button Select Folder.
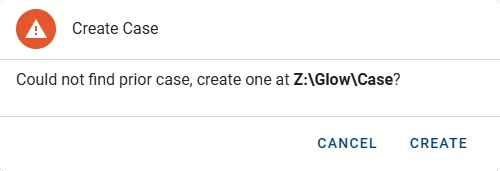
- Confirm the Create Case dialog by pressing the CREATE button.
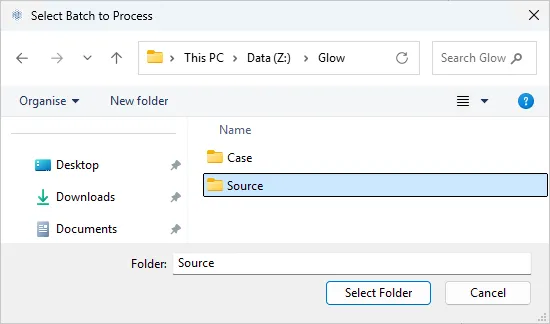
- Click the button ADD SOURCES to open another folder selection dialog.
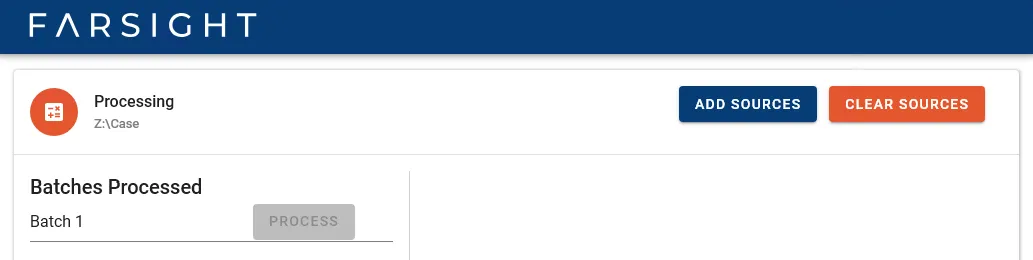
- Select the folder containing the source data and confirm by pressing the button Select Folder.
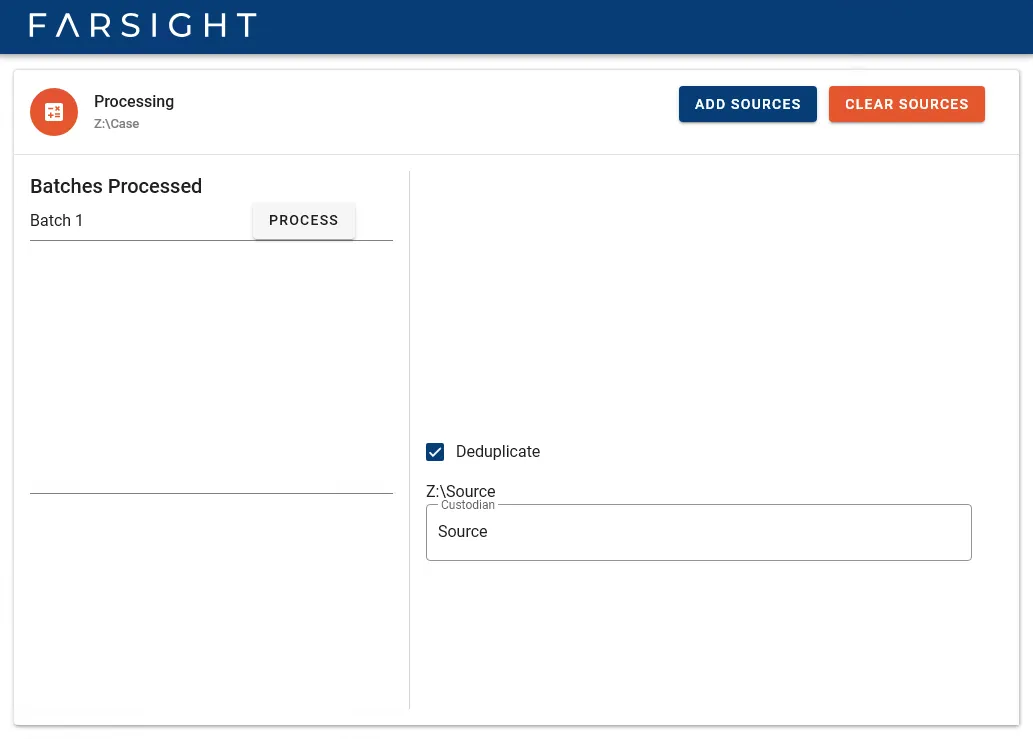
- Check the list of detected custodians and confirm by pressing the PROCESS button.
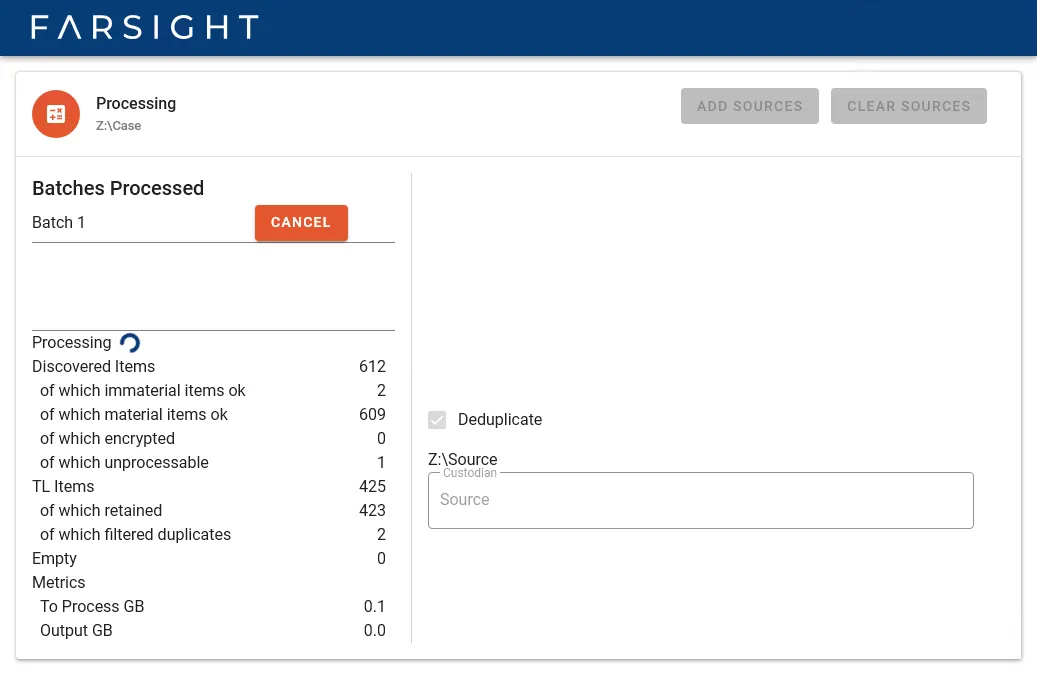
- Processing will start immediately and keep updating the statistics while running.
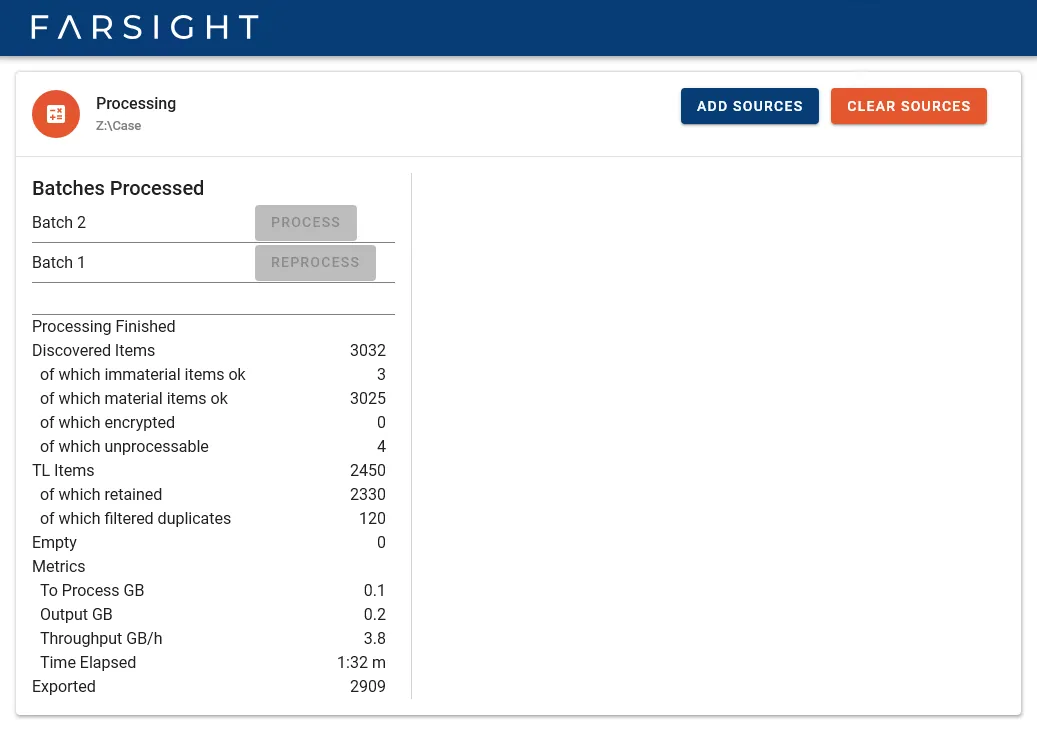
- Once completed the availability of the buttons changes and the final status messages are shown.
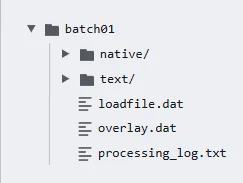
- The destination folder batch01 contains the results and will look similar to the structure below.
- This concludes the Processing phase and the application can be closed.
We will return later to the output folder as we need to create a Workspace to host these Documents first.
Workspace Creation
Section titled “Workspace Creation”Open Farsight Platform Management in your browser and log in with administrative privileges.
-
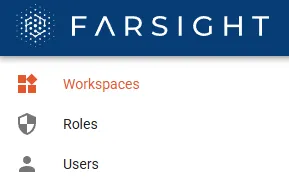
Go to the tab Workspaces.
-
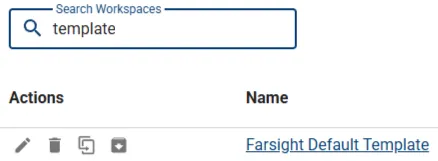
Look for the Farsight Default Template.
-
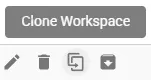
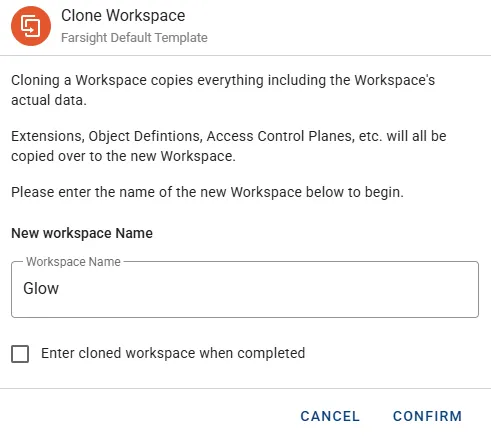
Click Clone icon to open the Clone Workspace dialog.
-
Assign a name in Workspace Name input box.
-
After initialization the new Workspace will become visible.

-
Access the Workspace by clicking the link in the Name column.
-
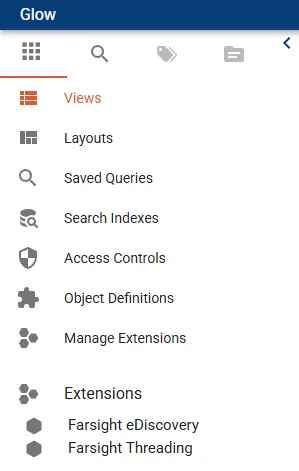
As the Workspace is derived from the template it will already have both the eDiscovery and the Threading Extensions installed.
-
Checking the Documents tab will show no available records for the moment.

At this stage the Workspace is ready to receive the first Documents.
Import Data
Section titled “Import Data”- Start the eDiscovery Bridge application, register the instance URL and log in.
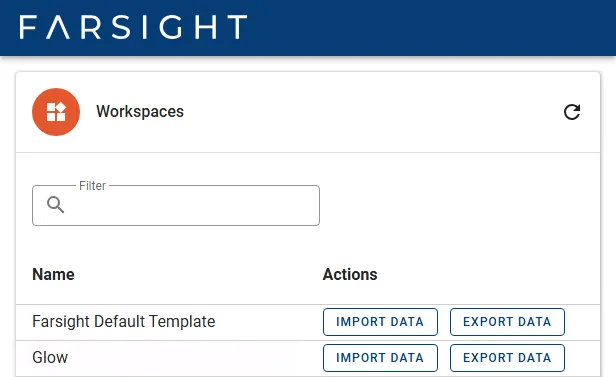
- Click the button IMPORT DATA next to the name of the designated Workspace.
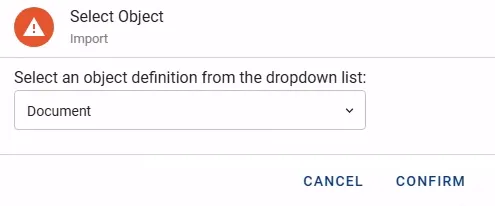
- The Select Object dialog opens with Document pre-selected. The data processed earlier on are Documents, go ahead and press the button CONFIRM.
- Press the button SELECT LOADFILE.

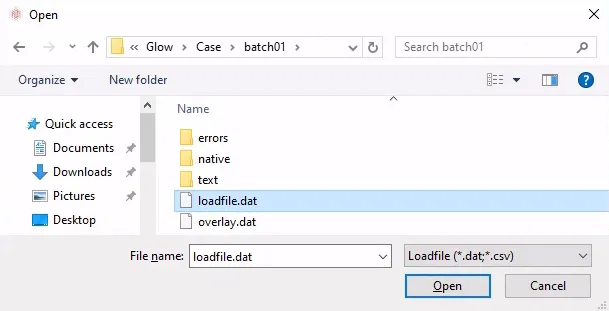
- In the Open dialog select the file loadfile.dat from your previously processed batch01 folder and click the button Open.
- As long as the target Workspace was cloned from the template there should no Fields remain unmapped.
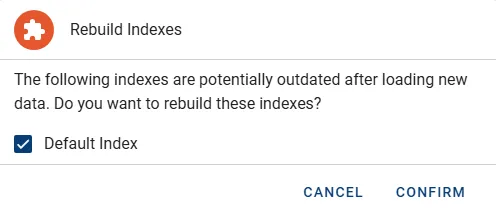
- Press the button IMPORT which will present the Rebuild Indexes dialog. Feel free to disable the checkbox as the manual build process is covered by this tutorial.
- Press the button CONFIRM to start with the import process.
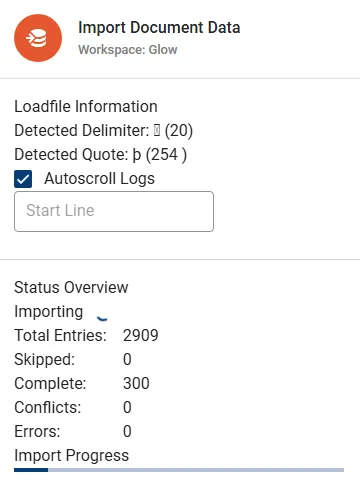
- Once completed the label Importing with the spinning wheel will change to Import Finished.
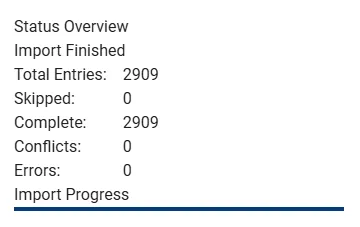
- Close the eDiscovery Bridge application.
As this is the first batch processed for this matter the second loadfile (overlay.dat) remains empty and no further action is needed.
Stage Data
Section titled “Stage Data”Return to the Platform Management section and enter the previously created Workspace.
Convert Documents
Section titled “Convert Documents”- Return to the Documents tab.
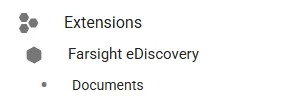
- It should present the same amount of records as indicated during import which can be checked in the footer bar.

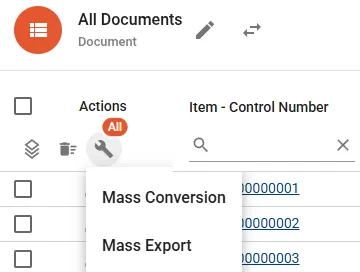
- Click the wrench icon in the Actions column and select Mass Conversion from the drop-down menu.
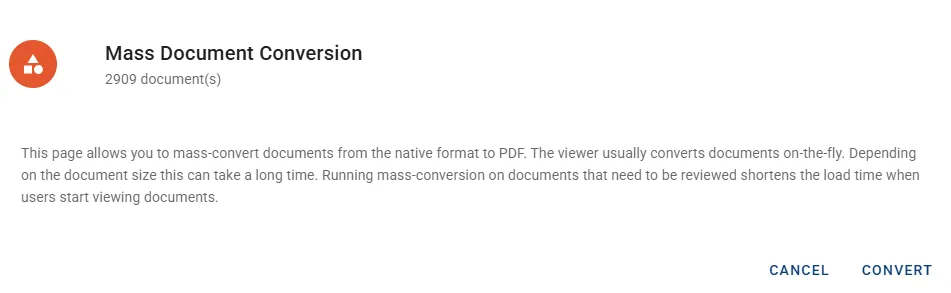
- Acknowledge the information by pressing the button CONVERT.
- Move on to the next step while the conversion task will run in the background.
Index Documents
Section titled “Index Documents”The Workspace template comes with a pre-configured Search Index and associated Saved Query. Building the Search Index will make it operational unless you decided to run an automatic build during the import performed earlier on.
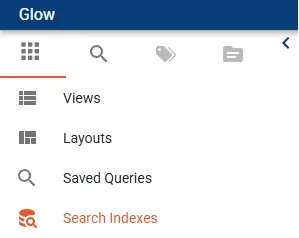
- Enter the Workspace and go to the tab Search Indexes.
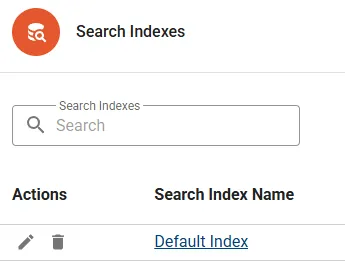
- Click on the link Default Index to see the details.
- Click the button BUILD FULL in the console area.

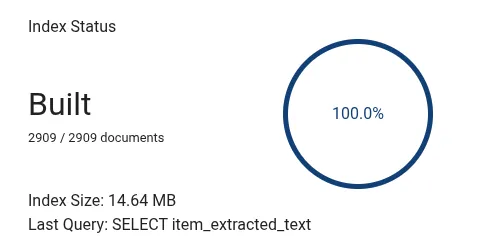
- Once the build process completed, the status area is updated and showing Built with the total of included Documents.
- Click the button ENABLE FOR USERS to make the Search Index accessible for regular Users.

- Return to the Documents tab of the Workspace.
- The title bar now includes an input box for running ad-hoc Index Searches.

- Enter a random term into the Search Term input box and hit the return key. This should narrow down the Documents immediately which can be checked in the footer bar.

Prepare Review
Section titled “Prepare Review”Stay in Workspace Management and try the steps below.
Search Documents
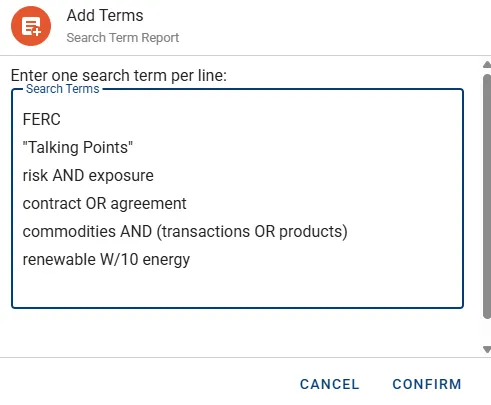
Section titled “Search Documents”The keyword list below is used to narrow down the Document set.
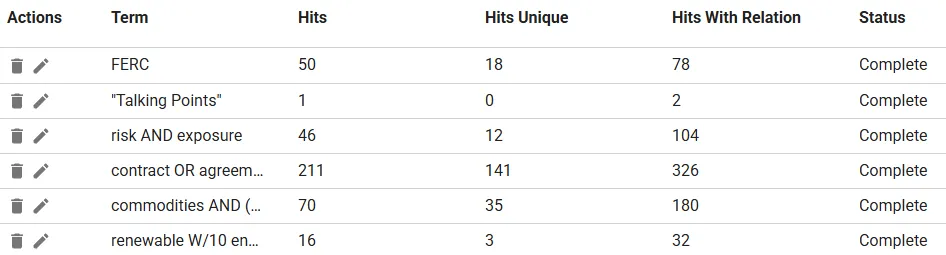
| Term |
|---|
| FERC |
| ”Talking Points” |
| risk AND exposure |
| contract OR agreement |
| commodities AND (transactions OR products) |
| renewable W/10 energy |
-
Go to the tab Search Term Reports and click the button NEW SEARCH TERM REPORT in the top right corner.

-
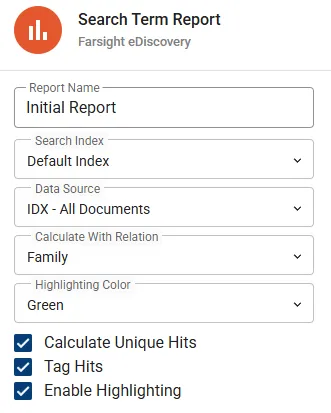
Fill in all the input boxes as shown in the screenshot below and press the SAVE button.
-
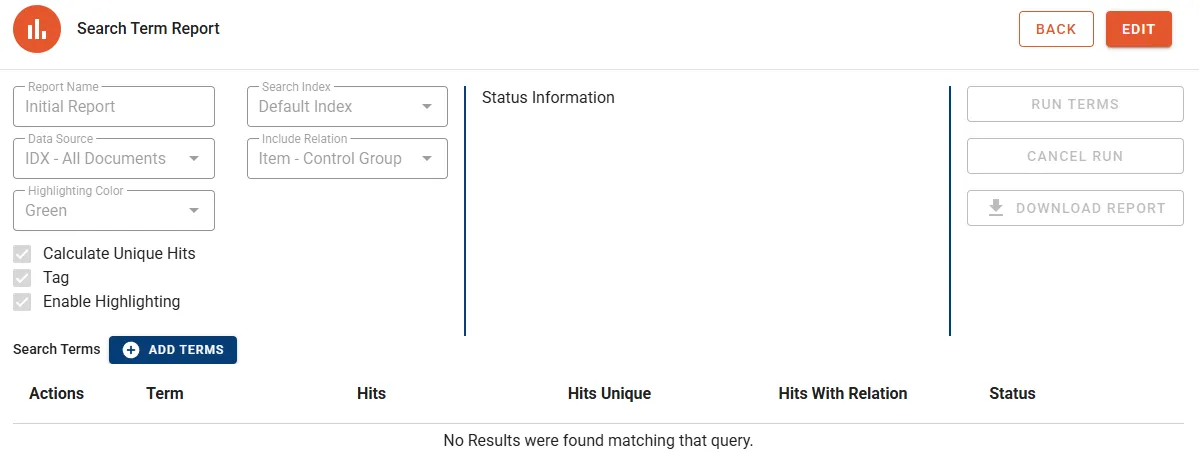
The Search Term Report details page is opened. Terms are not yet defined and the buttons on the console remain unavailable for the moment.
-
Click the button ADD TERMS.

-
This will open the Add Terms dialog where you can paste the list of terms.
-
Press the button CONFIRM to close the dialog and see the updated Status Information.

-
Go ahead and press the button RUN TERMS.

-
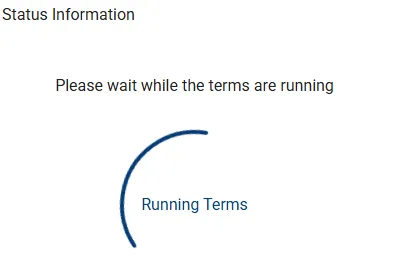
Status Information will now indicate report execution.
-
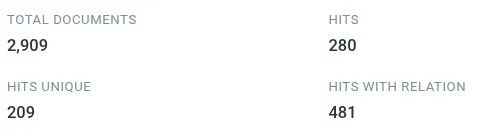
Once completed, status information will show a summary.
-
The term list is populated with the resulting counts.
-
Optionally download the term list as CSV file by clicking the button DOWNLOAD REPORT.

Browse Resulting Documents
Section titled “Browse Resulting Documents”The Search Term Report created in the previous step was configured to flag the Documents. In this step the flag will be used to create a persistent query returning a selected sub set of the Documents.
- Go to the tab Saved Queries.
- Press the button NEW SAVED QUERY in the top right corner.

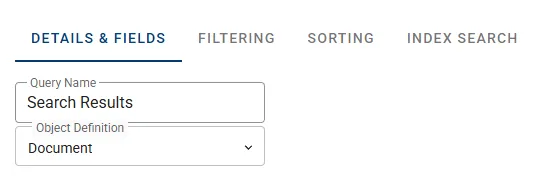
- Fill in the name Search Results and switch Object Definition to Document.
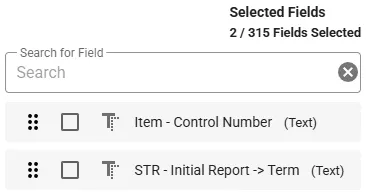
- Move the Fields shown below to the Selected Fields area.
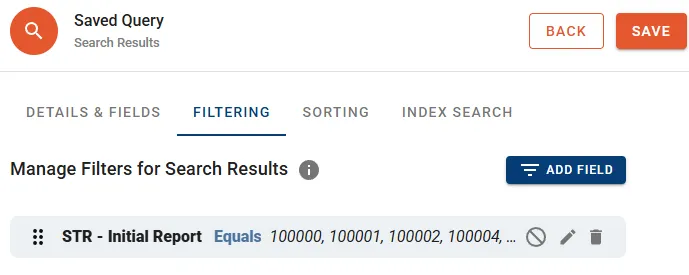
- Switch to sub tab FILTERING.
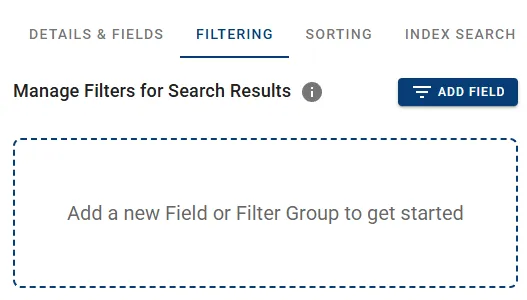
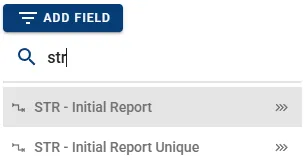
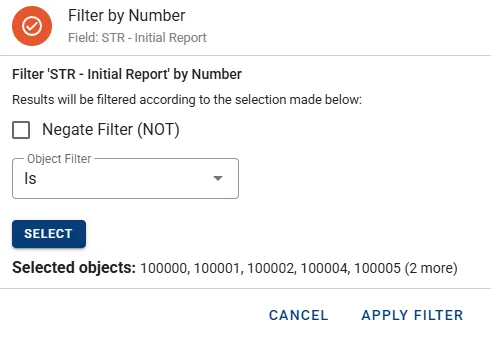
- Press the button ADD FIELD, filter for “str” and select STR - Initial Report (not the arrow).
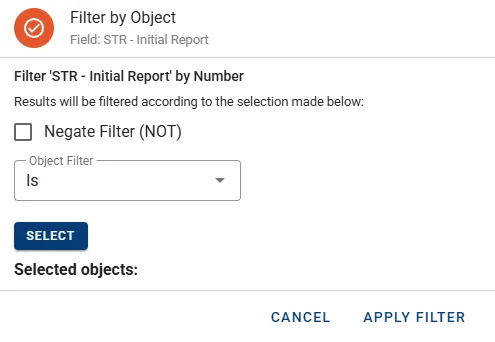
- In the dialog switch the Object Filter to Is and press the button SELECT.
- In the next dialog, select all results except “contract OR agreement”.
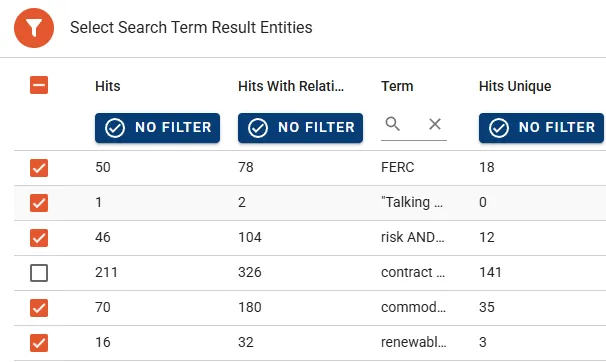
- Press the arrow button to move them over.

- The selected results should now appear on the right.
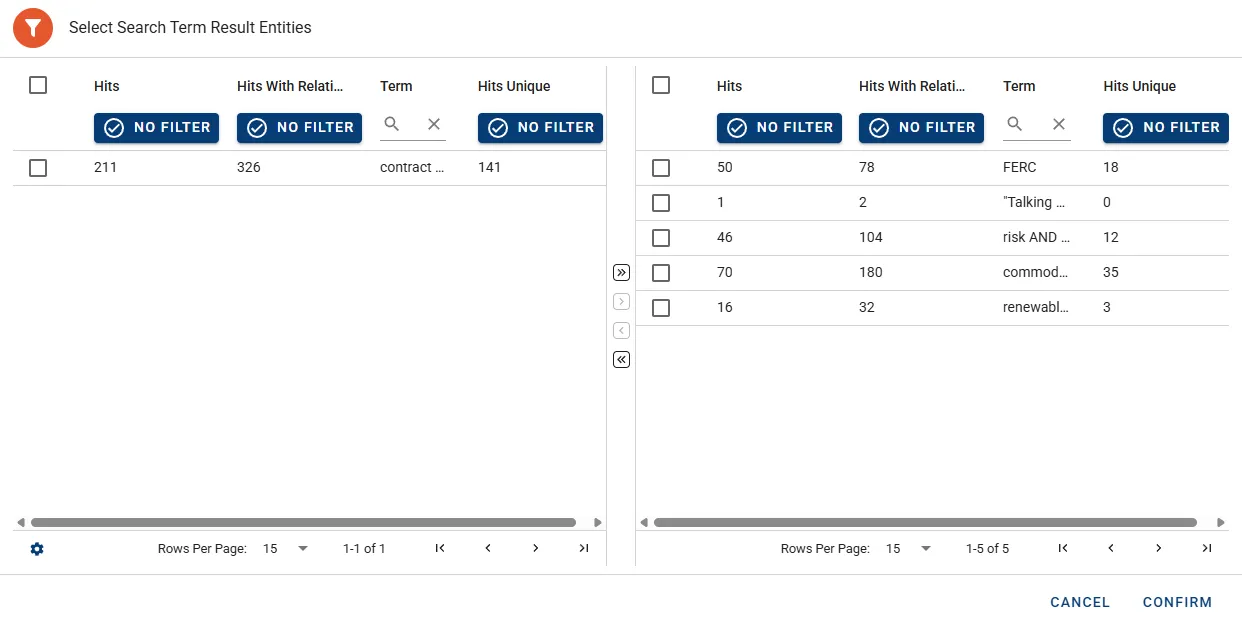
- Press the button CONFIRM to close this dialog and then press the button APPLY FILTER to close the other dialog.
- Press the button SAVE in the top right corner.
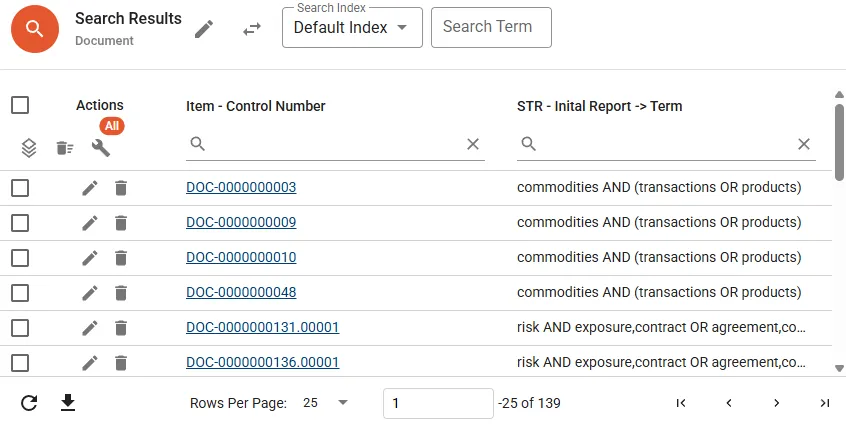
- The new Saved Query is displayed in the list, click the name to display the results.
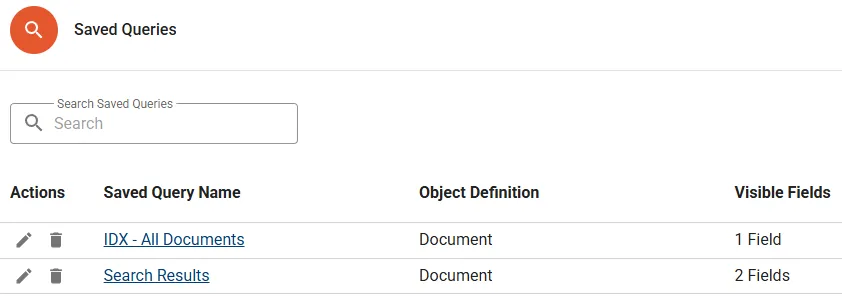
- Note that the list is filtered to Documents with actual hits and the responsive terms can be seen on the right column.
Batch Documents
Section titled “Batch Documents”Now we can build smaller work packages of the Documents and the previously created Saved Query will be used as source.
- Go to the tab Batch Sets.
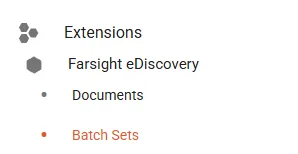
- Click the button NEW BATCH SET in the top right corner.

- Fill in the dialog with the values from the screenshot.
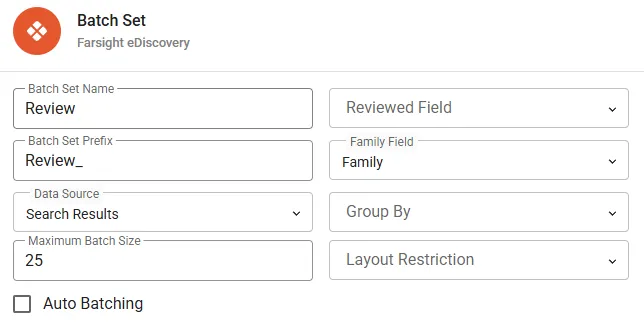
- Press the button SAVE in the top right corner which will bring you to the details page of the new Batch Set.
- The status area is indicating that there are Documents Ready to Batch.
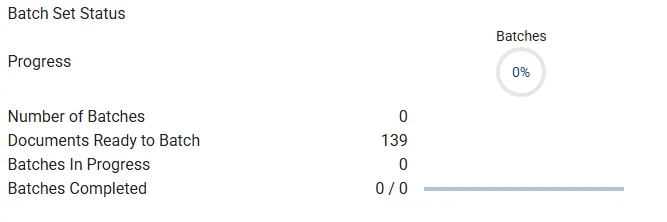
- Click the button CREATE BATCHES in the console area.

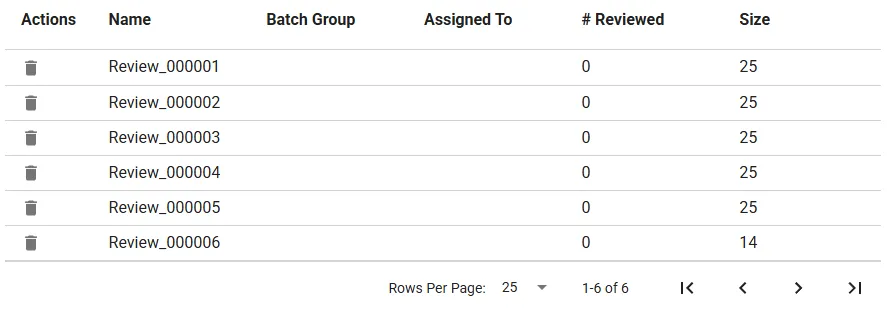
- After generation the Batches will appear in the record area.
Conclusion of Workspace preparation
Section titled “Conclusion of Workspace preparation”Ultimately all the Document related preparation work has concluded so we can take care of access provisioning.
- Return to Platform Management by leaving the workspace in the bottom area of the nav tab panel.

Provide Access
Section titled “Provide Access”Use Platform Management to create a new Group and link it to the Workspace. In a second step this Group is linked to the existing Access Control Plane within the Workspace.
Create Group
Section titled “Create Group”- Go to the tab Groups.
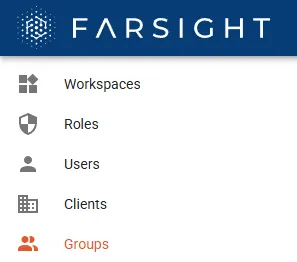
- Click the button CREATE GROUP in the top right-corner.

- Ideally the Group Name does reflect the connected Workspace and the function of the members.
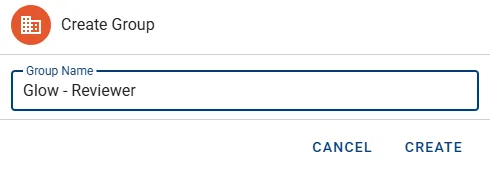
- Press the button CREATE to continue.
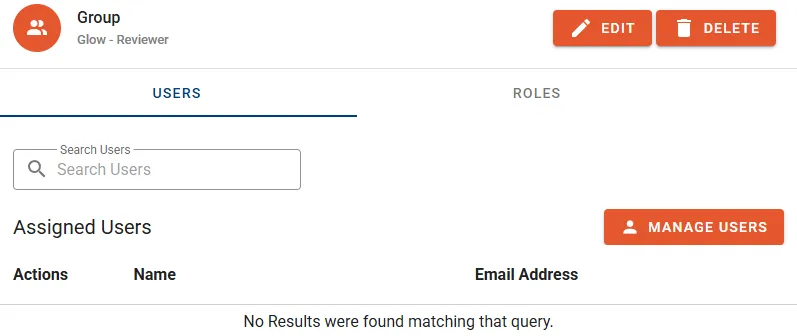
- Click the link on the Name column for the new Group to see the details.

- Currently there are no Users assigned but this can be changed by clicking the button MANAGE USERS.
Link Workspace
Section titled “Link Workspace”- Go to the tab Workspaces.

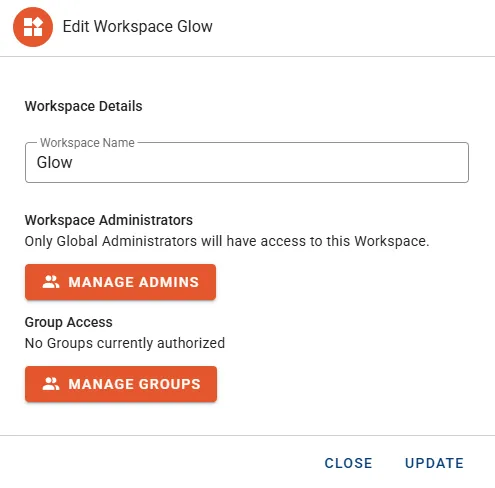
- Click the Edit icon next to your Workspace to enter the edit dialog.

- Click the button MANAGE GROUPS.
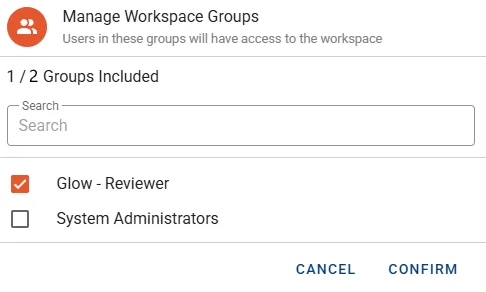
- The dialog Manage Workspace Groups appears. Check the newly created Group and click the button CONFIRM.
- Click the button UPDATE to close the Edit Workspace dialog.
With above steps completed, the group is ready to receive specific permissions.
Link Access Control Plane
Section titled “Link Access Control Plane”Access Control Planes are sets of permissions and managed from within the Workspace.
-
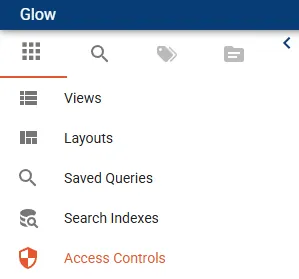
Go back into the Workspace and click on the tab Access Controls.
-
There is already a pre-defined minimal Access Control Plane but no groups are assigned.
-
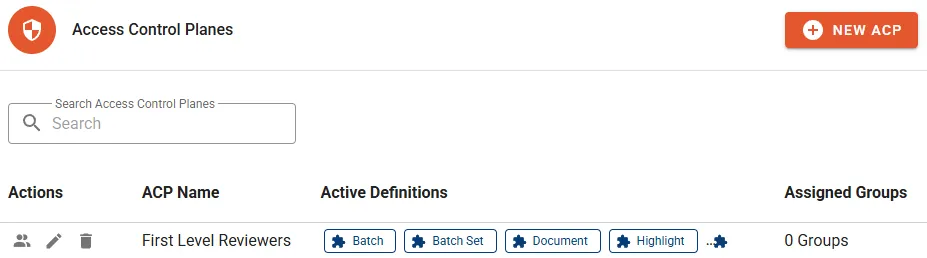
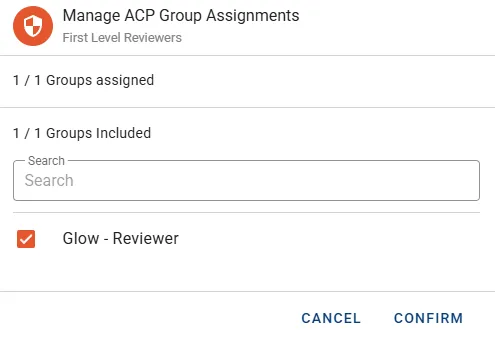
In the Actions column press the button to Manage Group Assignments.

-
Check the Group and click the button CONFIRM to close.
Modify Access Control Plane
Section titled “Modify Access Control Plane”Customize the permissions to allow mass export Document records.
- Click the Edit button next to the ACP.

- Expand tab Documents and click Abilities.
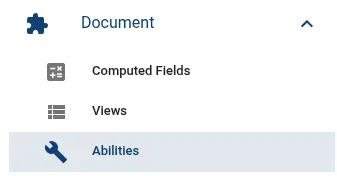
- Click on Mass Export to enable the function. The green check mark will indicate that this permissions has been assigned.

- Press the SAVE button in the right top corner to complete.
Conclusion
Section titled “Conclusion”With this tutorial completed, here some suggestions where to head next:
- Visit Administrator Essentials for a comprehensive overview on administrative tasks.
- The User Tutorial is based on the same Workspace and offers insights from the user perspective on what has been prepared.